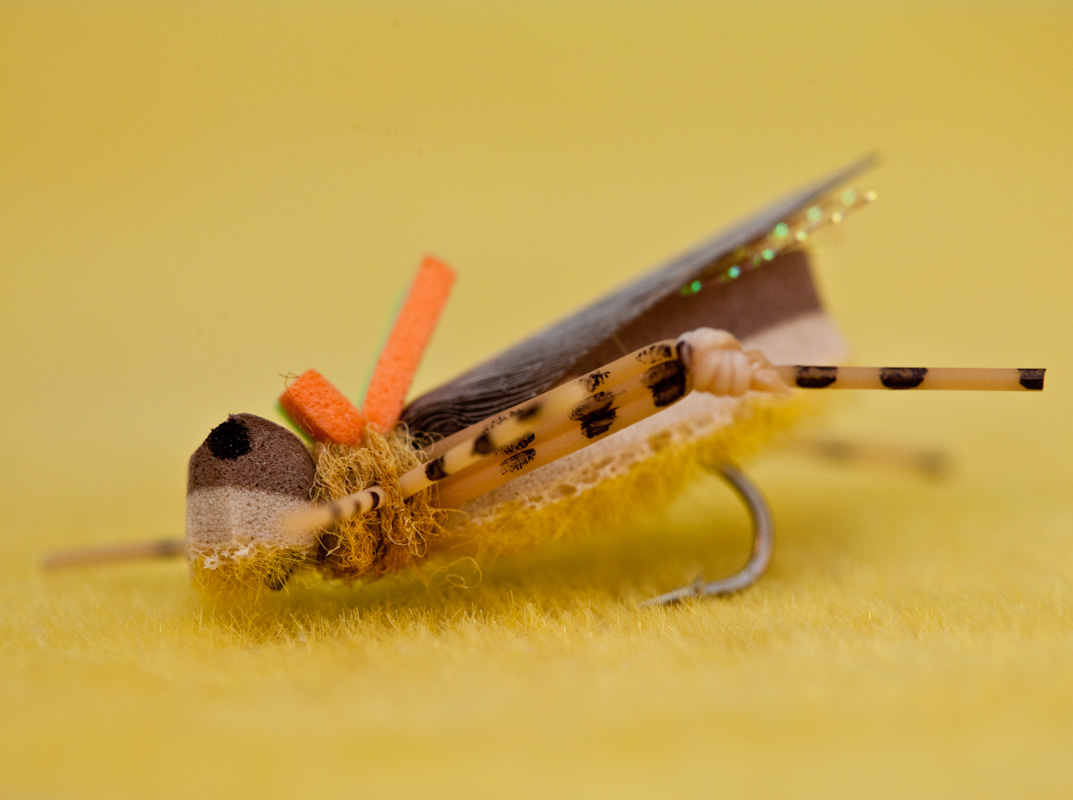
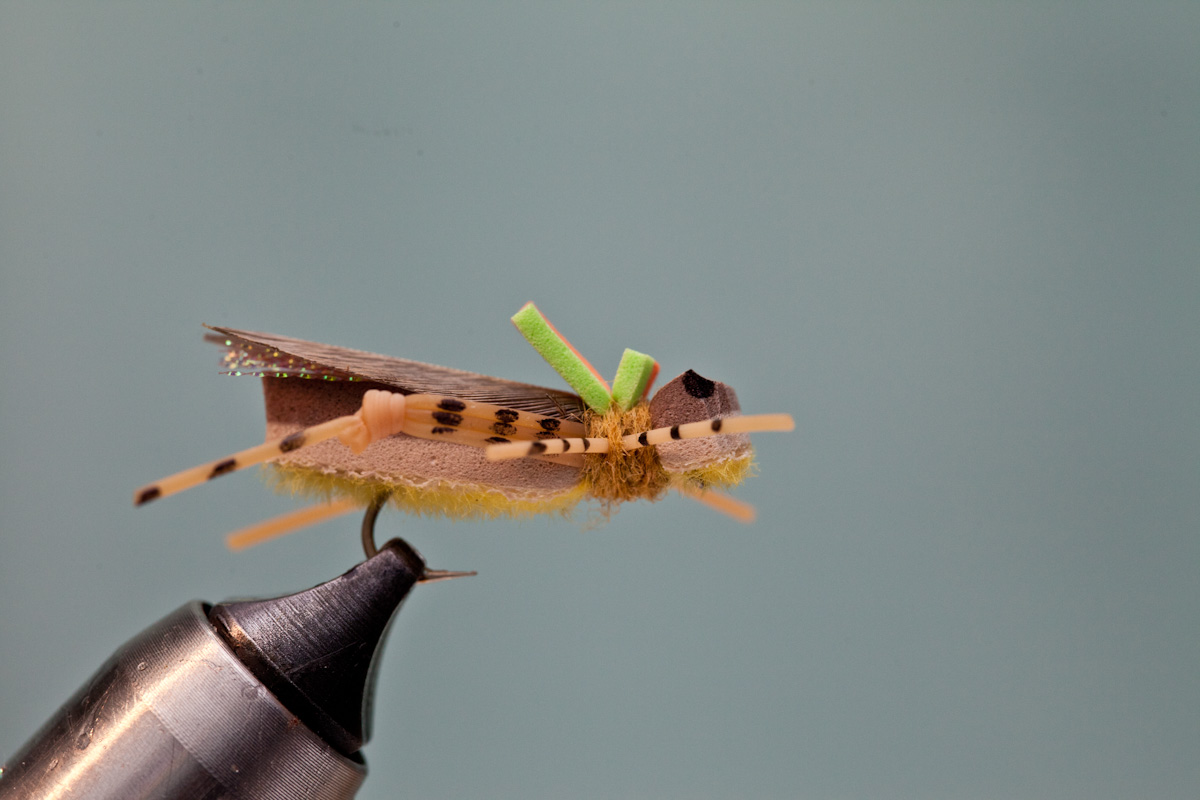
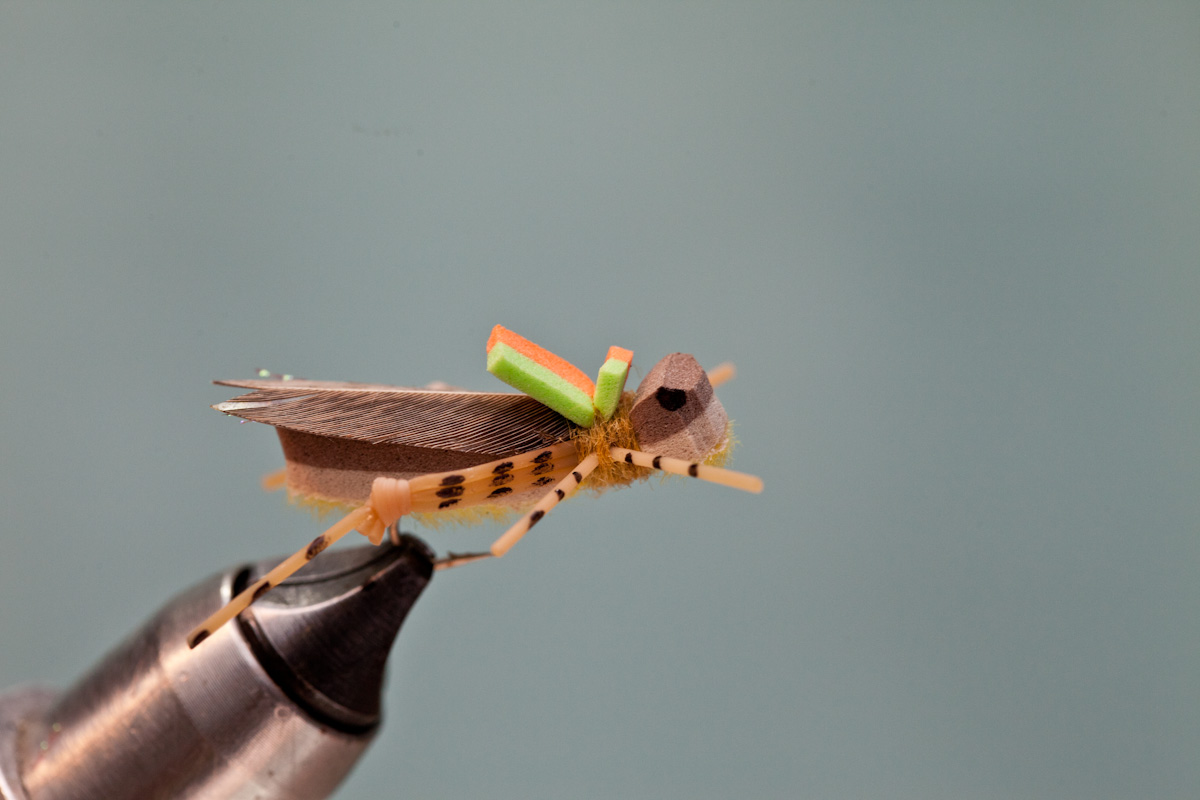
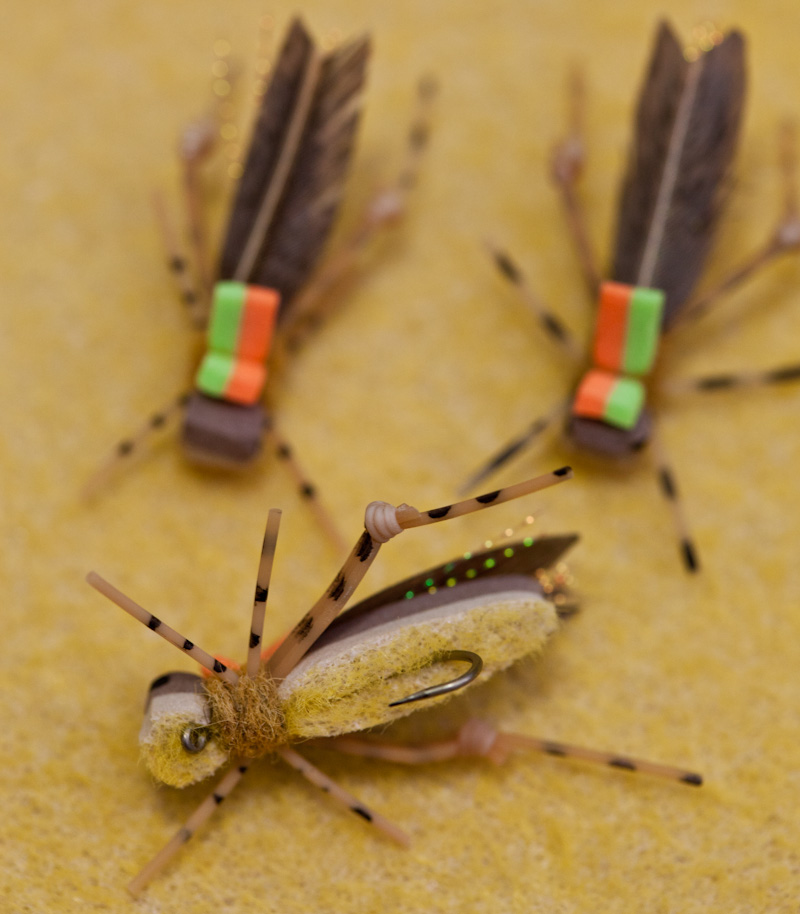
How to tie Rainy’s High-Viz Grand Hopper. Rainy’s Grand Hopper has been around for years, but the trout never seem to get tired of eating this realistic foam hopper. With it’s wiggly, knotted rubber legs, thick foam body, and realistic over-wing, this hopper just flat out works.
I think the main fish attracting characteristic of this hopper is the thick foam body. Most foam hoppers have bodies that are anywhere from 2mm- 6mm thick. Popular 2mm thick hopper patterns include the Improved Chaos Hopper, Sanchez Foam Hopper, and the Chubby Chernobyl. 4mm thick hopper patterns include Chernobyl Hoppers, Doug McKnight’s Sweetgrass Hopper and the Pink Pookie. 5mm-6mm thick hopper patterns include the Morrish Hopper, and the Grand Hopper. All of these patterns catch trout, but some days the fish seem to key in on hoppers that are sitting low in water, much like the real thing. The thicker the foam body on the hopper, the lower the hopper rides in the water.
The Grand Hopper is a deadly pattern that should be in everybody’s fly box, especially on those days when the fish are looking for low riding, thick bodied hoppers. This hopper is easy to tie, and looks great in all sizes and colors.
MATERIALS NEEDED:
Hook: Dai-Riki #730 hook size 6-14. For the last few years I’ve been tying all my foam hoppers on nymph hooks because of their durability, plus my hoppers seem to land upright more often with the heavier hooks.
Thread: UTC 140 denier. Great foam tying thread because of its strength, and the fact that it doesn’t cut foam.
Foam: 5-6mm fly tying foam. You can use Fuzzy Foam, 6mm fly tying foam, or multi-layer two tone foam. You can make your own fuzzy foam by adding furry foam to any foam with glue.
Underwing: Crystal flash.
Wing: Hen saddle feather applied to packing tape, trimmed to shape.
Legs: Medium attached round rubber legs from a strand.
Dubbing: Dry fly dubbing. I usually dub a slightly contrasting color than the color of the foam.
Post: Any high-viz 2mm foam such as orange, goldenrod, or yellow.
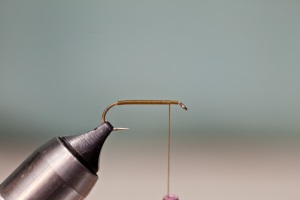 Step 1: Form a thread base on hook. End thread 2 eye-lengths back from hook eye.
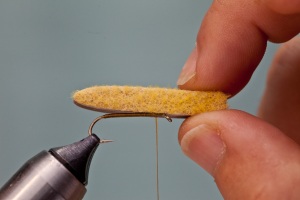 Step 2: Cut hopper body out of layered foam, or trim out body with scissors. Good rule for trimming out bodies is to cut hopper bodies the width of hook gap. Above, I have a medium sized, pre-cut hopper body and a size 1o 2xl hook.
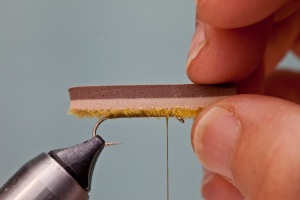 Step 3: Trimmed out 5mm hopper body.
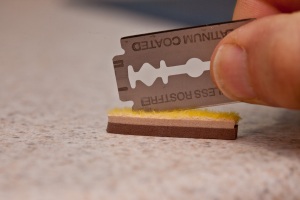 Step 4: Using a razor blade or scissors, cut a slit in foam body. Depth of slit should be about 2mm.
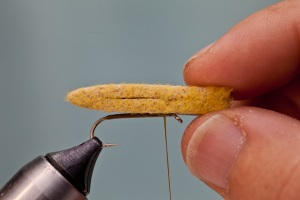 Step 5: Notice the cut in the foam starts about a hook gap from tapered end of foam and ends at about the hook eye.
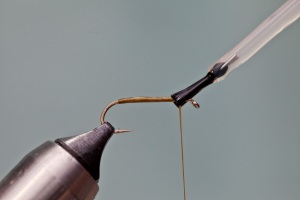 Step 6: Apply a very thin layer of super glue to thread wraps. We want the super glue to quickly set upon placement of foam body. If you add too much glue, you will have to hold the body in place for several minutes before the glue dries.
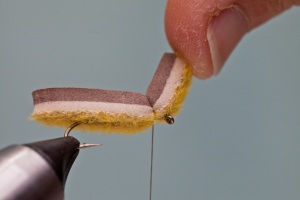 Step 7: Place foam hopper body onto hook. The slice in the foam should now just cover the hook as shown above. Secure foam body to hook with 2-3 thread wraps. Notice the hopper body is sitting high on the hook, not interfering with the hook gap.
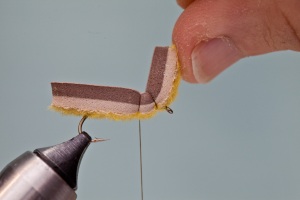 Step 8: Cross the thread back over the body of hopper, and secure the hopper body to hook with 2-3 thread wraps.
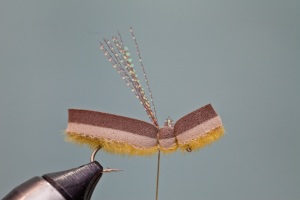 Step 9: Apply and trim about a dozen strands of crystal flash for underwing. The underwing should extend just beyond tapered end of hopper.
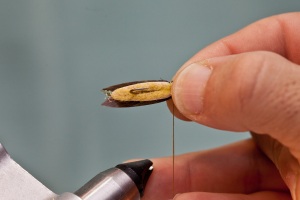
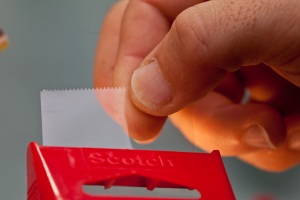 Step 10: Make hopper wing. Tear of a small piece of clear packing tape. If you can find industrial strength tape, the feather should stay adhered. For extra durability, add some spray adhesive to tape before applying feather.
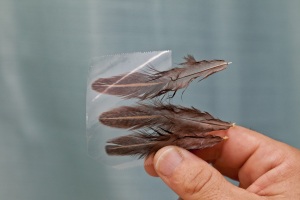 Step 11: Affix feathers to sticky side of packing tape.
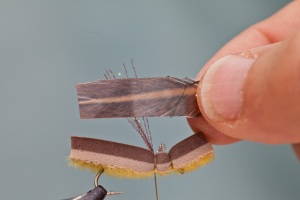 Step 13: Trim hopper overwing to shape. I like the wing to be a little wider than the body of the hopper.
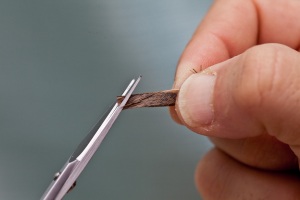 Step 14: Once you’re happy with the width of the wing, fold the wing in half with sticky side of tape on the outside. Next trim one end of wing with scissors at angle as shown.
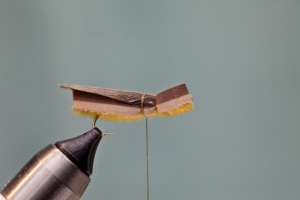 Step 16: Tie in hopper wing. End of wing should extend to ends of crystal flash.
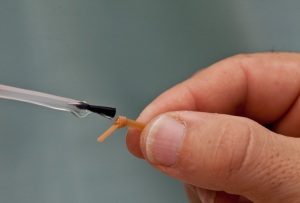 Step 18: Make the knotted hopper legs. Tie a loose overhand knot in 3-strands of med. round rubber leg material. Hold knot as shown above, and apply a small dab of super glue to the overhand knot.
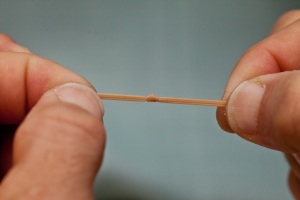 Step 19: After applying superglue, tighten overhand knot. The superglue will hold knot in place and doesn’t seem to weaken rubber legs if only a small amount is used.
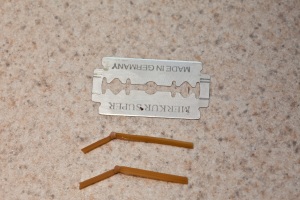 Step 20: Knotted rubber hopper legs.
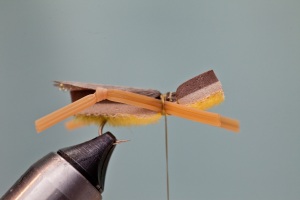 Step 21: Tie in hopper legs. I usually tie in legs so the overhand knot is even with hook bend.
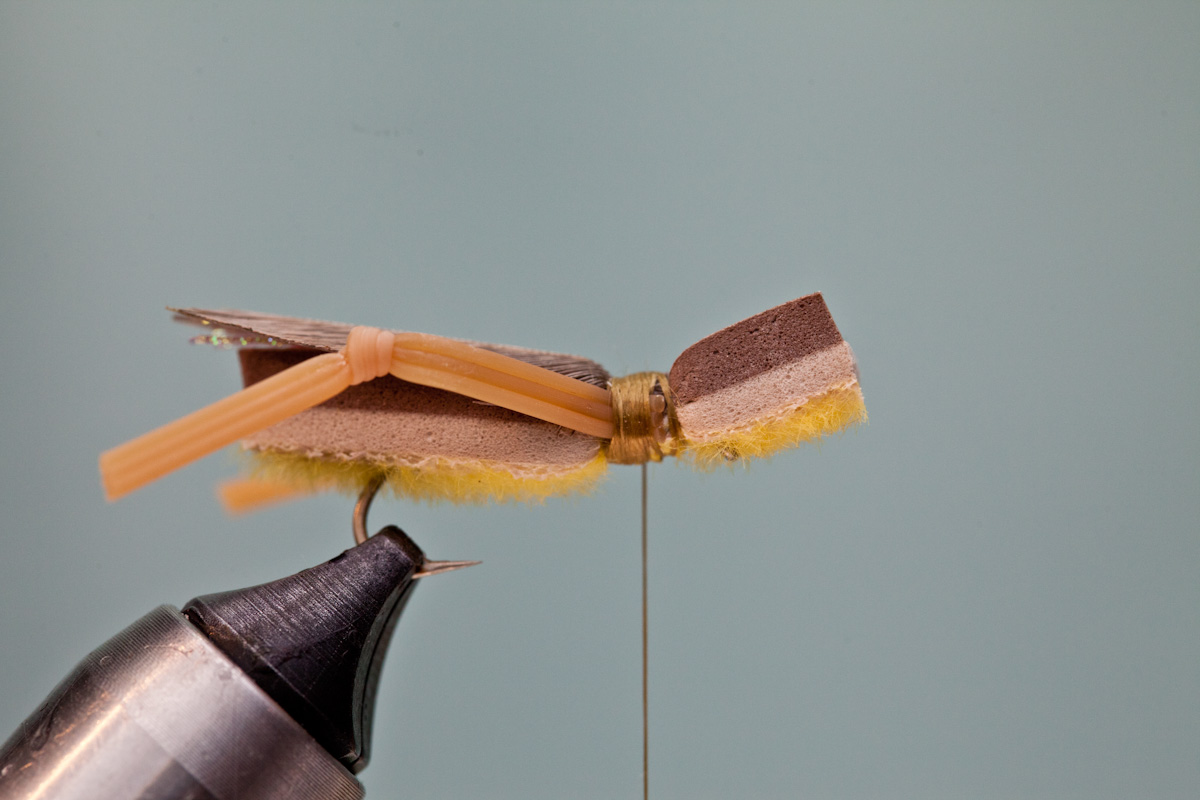 Step 22: Trim legs at tie-in point and bind down with thread wraps.
 Step 23: Cover thread wraps with dubbing.
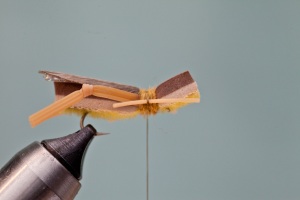 Step 24: Attach single-strand front legs to both sides of hopper.
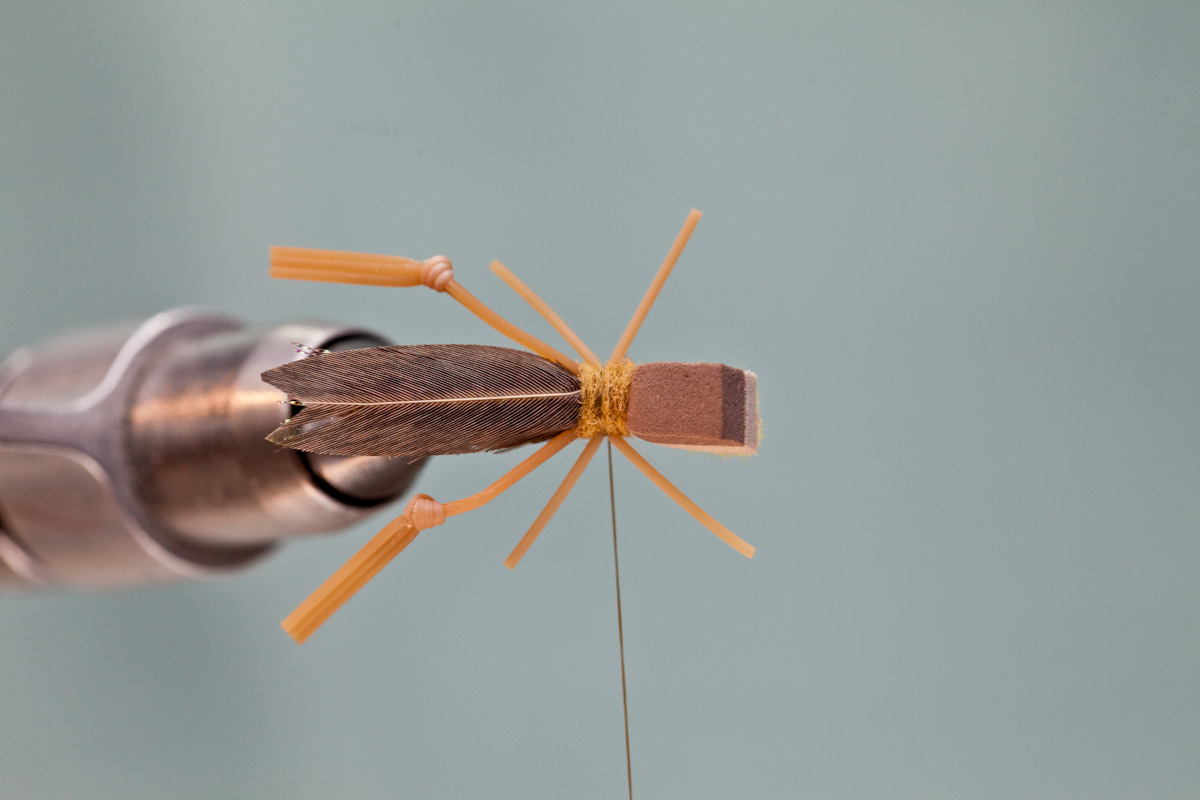 Step 25: Top view of tied in hopper legs.
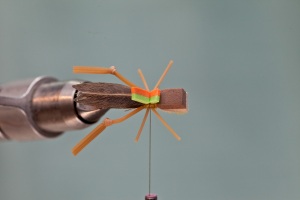
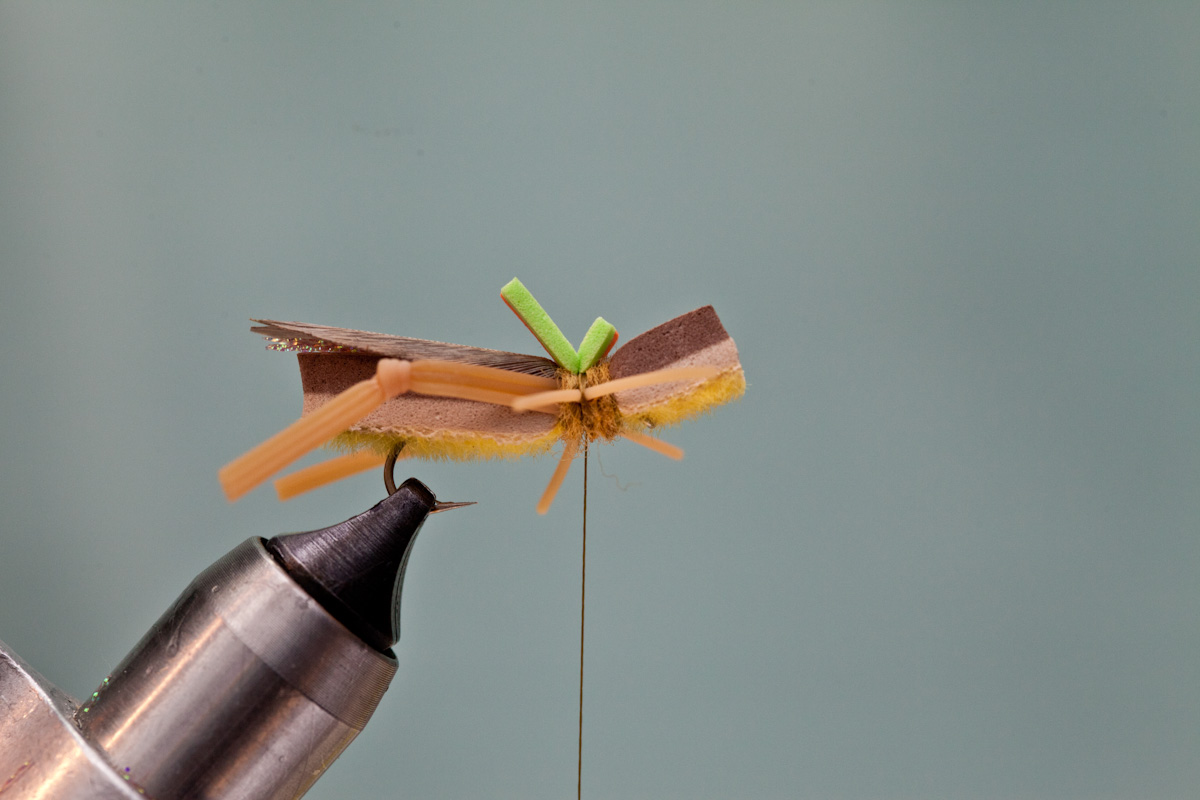 Step 26: Attach post to hopper with 3-4 thread wraps. Notice tie-in of post is same as tie-in of front legs.
 Step 28: Apply dubbing to thread. Apply enough dubbing to wrap 2-3 times around post tie-in area, and 2-3 wraps towards hook eye, or enough to cover up all thread wraps.
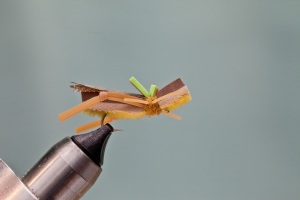
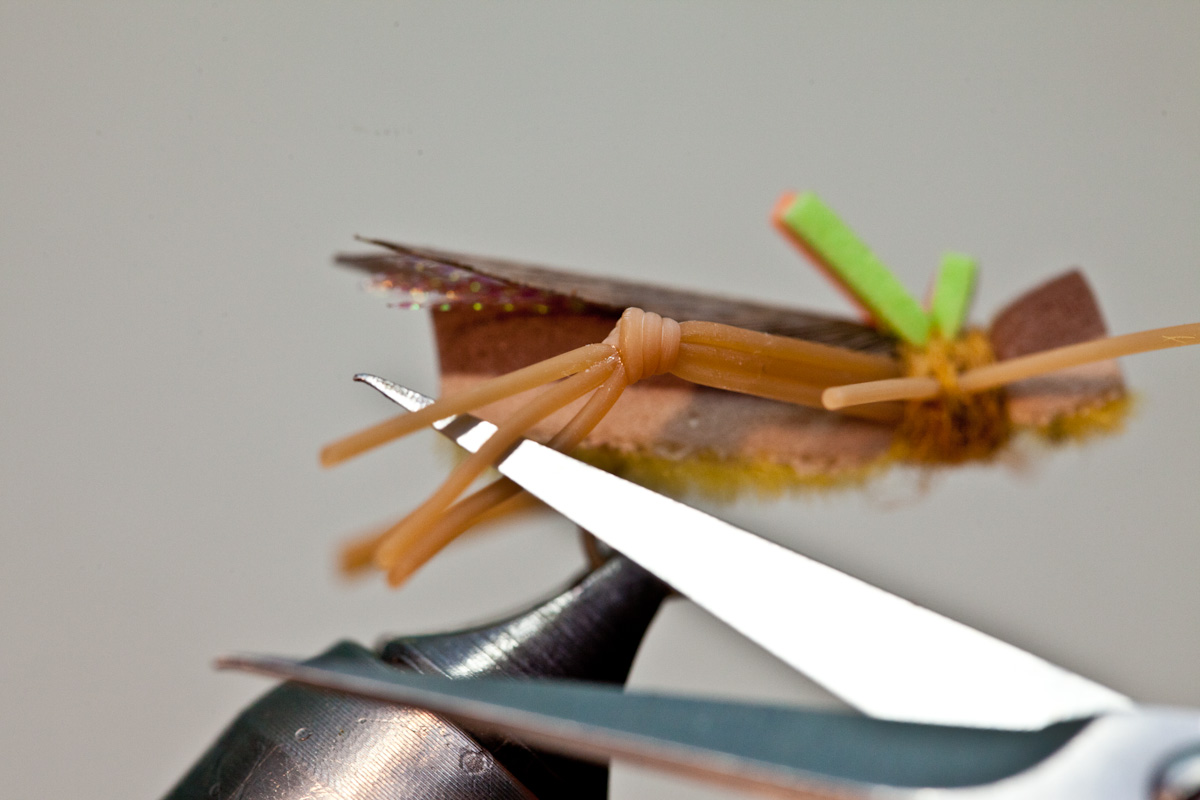 Step 31: Separate 3-strands of rubber behind the overhand knot of back legs.
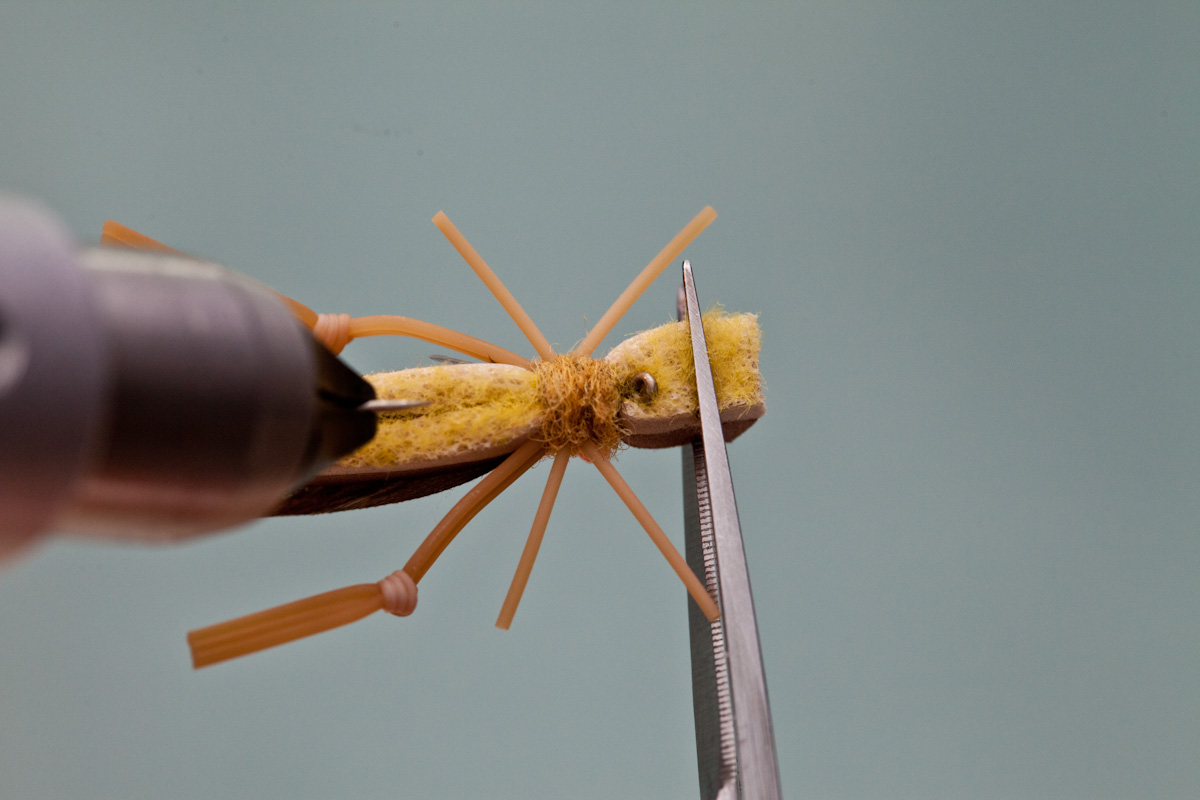
 Step 32: Trim away two of the strands of rubber behind overhand knot.
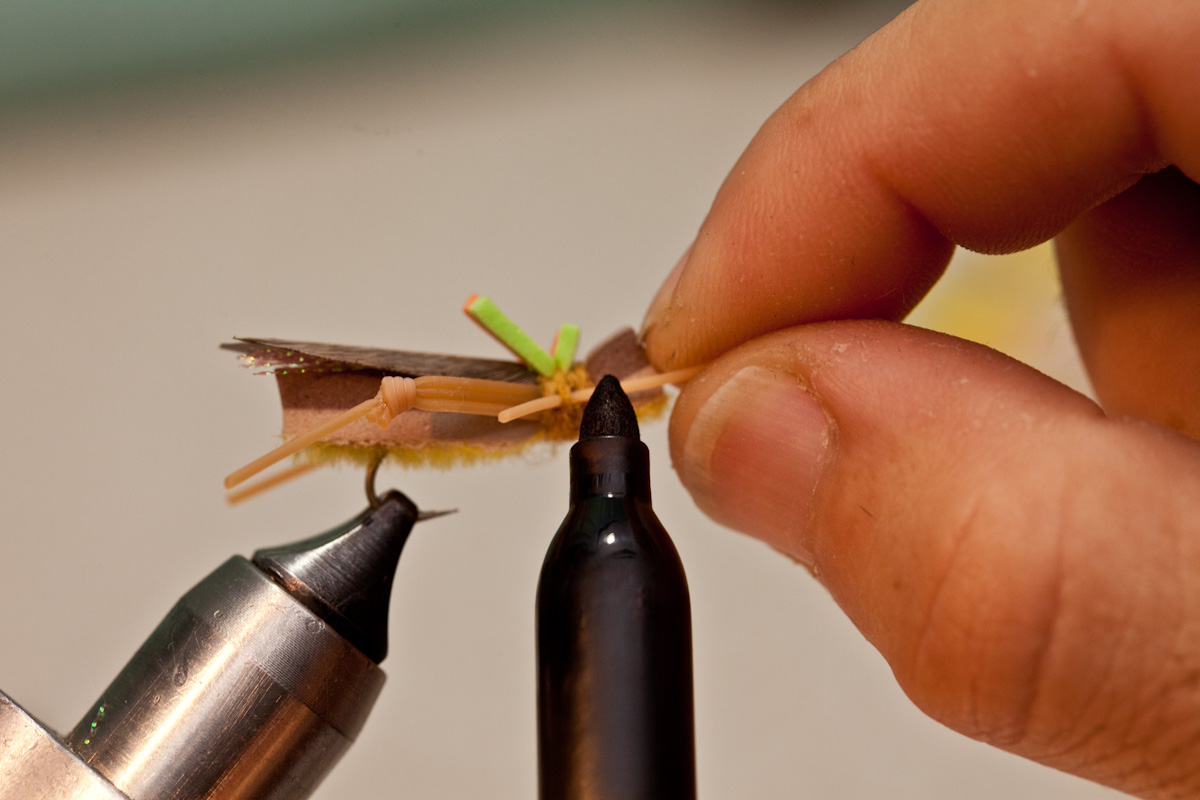 Step 33: (optional) Barr rubber hopper legs with permanent marker.

Thank you so much for sending me this turorial. I have tied some hoppers; most of them have been with pre-cut bodies. This looks like something that would be a little bit of a challenge but I think after awhile I can do it.
By the way, I have little success with hoppers here in South Florida (East Coast – Boynton Beach) except in the late spring. Summer I have no success with hoppers. I am referring to fresh water fishing – bass and other pan fish. I am surprised at the little success I have fishing with crappie as I have seen a lot of success with live crickets.
When I have been to far North Fl and Ga and Ky, hppers work well. Any thoughts?
David Catlen
David,
If live crickets work well, maybe you should tie up some black crickets. There are times here in Montana where black foam beatles or crickets out fish hoppers…just a thought
Thanks for the advice, Eric
What do you think?: the crickets here are tan; you wouldn’t still go with the black, would you.
Montana! Heaven!
David,
If S. Florida crickets are tan, your standard hopper patterns should do the trick. Other possible solutions; popper hoppers, or tie some hoppers with very long rubber legs…
Long legs? To get the fish’s attention?
Long legs, gives the hopper a little more action…hopefully triggering the fish.
Thanks for the tutorial, looks like a very effective fly!
This fly is spectacular, I thoroughly enjoyed the post.
Thank you SO MUCH for this tutorial. This is the only pattern I use when hopper fishing. All sizes from 4-16. I have been searching for this tutorial for the past year and could not find one, so I was winging it. It didn’t look like the store bought one. Sometimes you just need to see someone do it before you can tie it. So, thank you so much and keep up the great work on one of my favorite blogs.
Just got my new fuzzy foam in today and I’M already tying up some hoppers,I love this stuff,can’t wait to try them on the Yellowstone, Gardner, this summer…..
This is a great article. The photos are excellent, you put in a lot of time to create this article and the photos. Your tutorial for creating your own Fuzzy Foam Grand Hopper is interesting and looks easy. I’m going to show this article to my husband as he is an avid fisherman.
I discovered this evening this article and fell in love with it. As I am waiting tools and foam from usa, the first thing I shall do, will be to try this fly at my vise. Thanks, I am very excited and anxious to go fishing with it