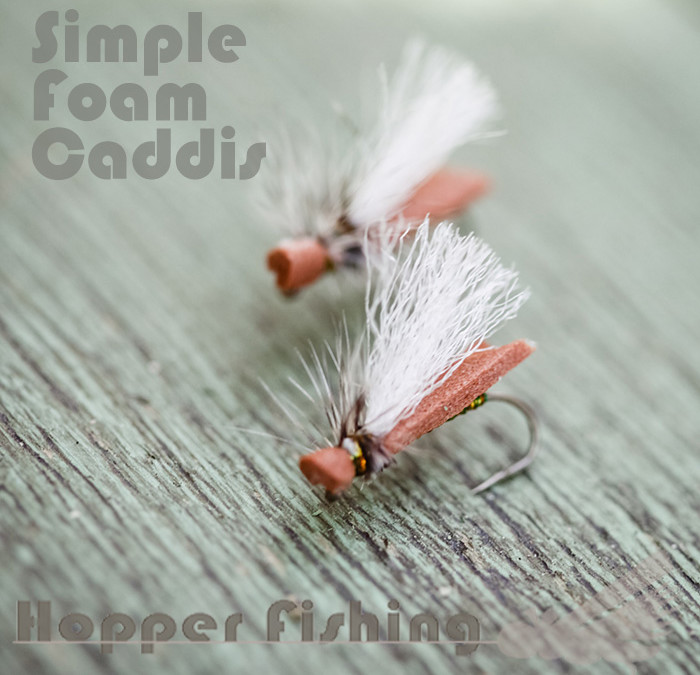
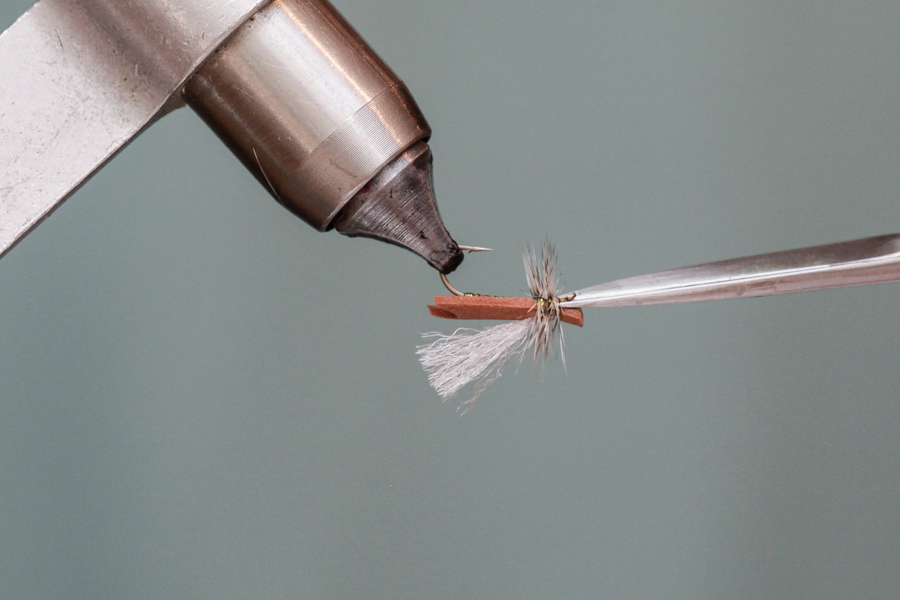
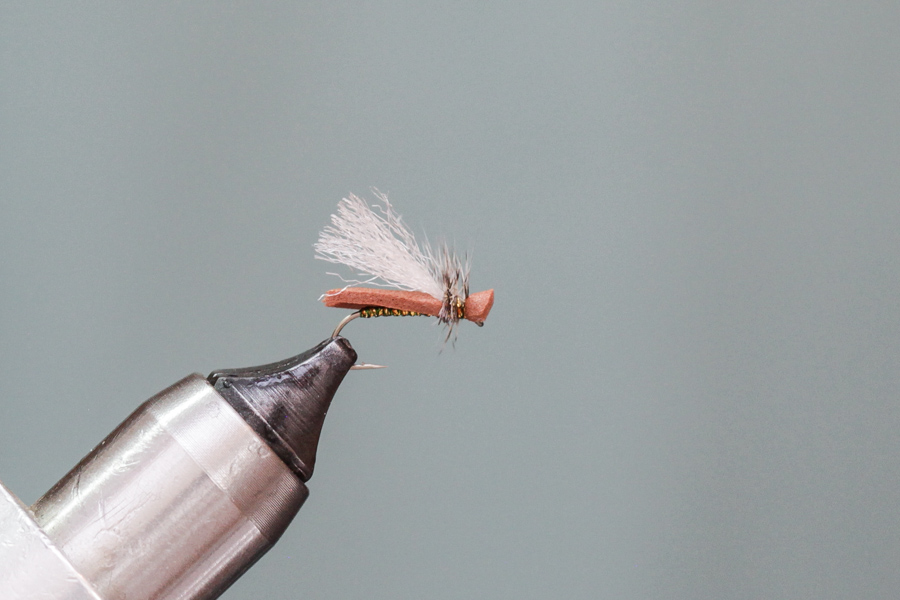
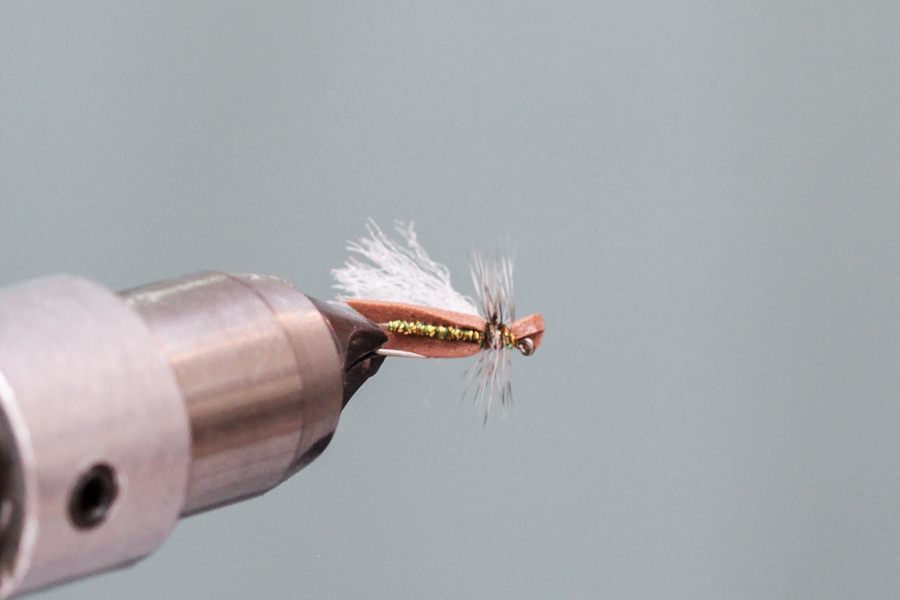
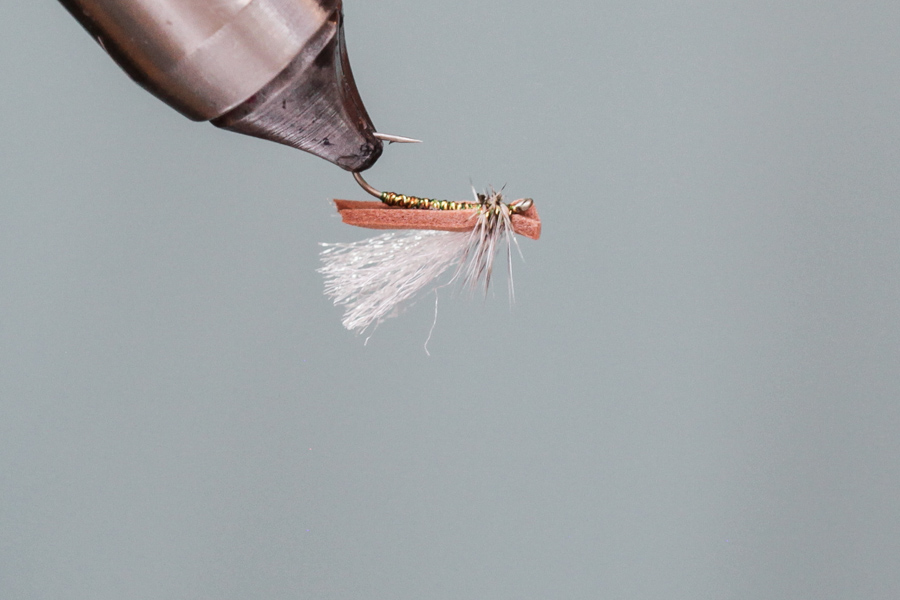
PATTERN DESCRIPTION: The Simple Foam Caddis is the best floating, easy to see caddis pattern that is simple to tie and simply catches fish. I’ve had tremendous luck during the Mother’s Day Caddis hatch here on the Yellowstone River near Livingston, Montana with this pattern fished as either a single dry or used as a dry-dropper combo trailing a small caddis nymph or soft hackle. This foam pattern can be tied in many different colors of foam and thread to match October Caddis, Spruce Moths and black caddis. I have added Sili Legs and hackle on bigger patterns like size 8-12 for buggy looking attractor patterns. One of my favorite variations includes an orange poly wing and 1mm tan foam. Best thing about this pattern is that it floats forever. No dry shake or flyagra required. Tie a few up and let me know what you think.
MATERIALS NEEDED:
Hook:Dai Riki 060 or standard 1xl dry fly hook
Thread/Body: Iridescent Veevus Thread – Olive
Underwing: 1mm tan, cinnamon or brown foam
Wing: Poly Wing – 1/2 strand
Hackle: Grizzly Hackle
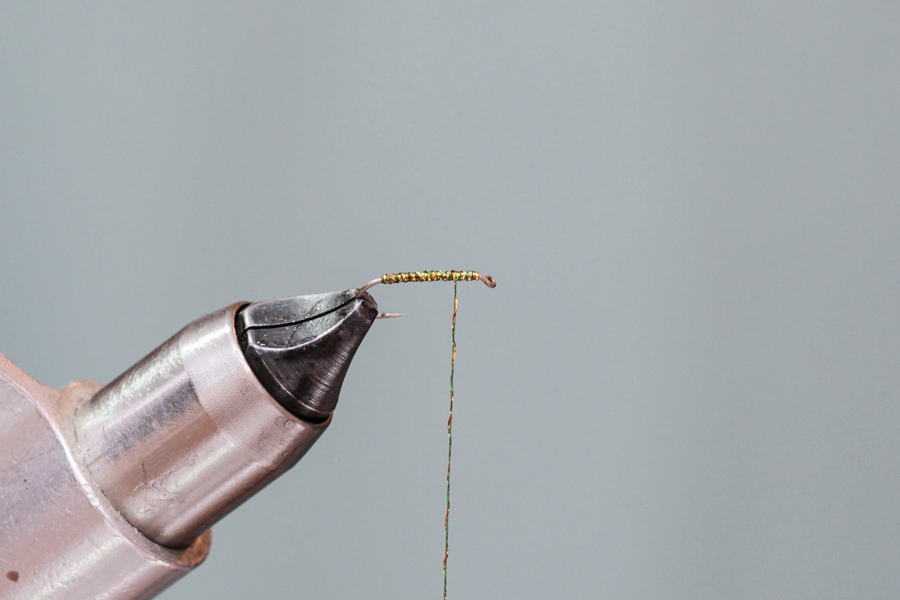
Step 1: Wrap a thread base/body with Iridescent Thread. End thread about 1/4 hook length behind eye as shown above.
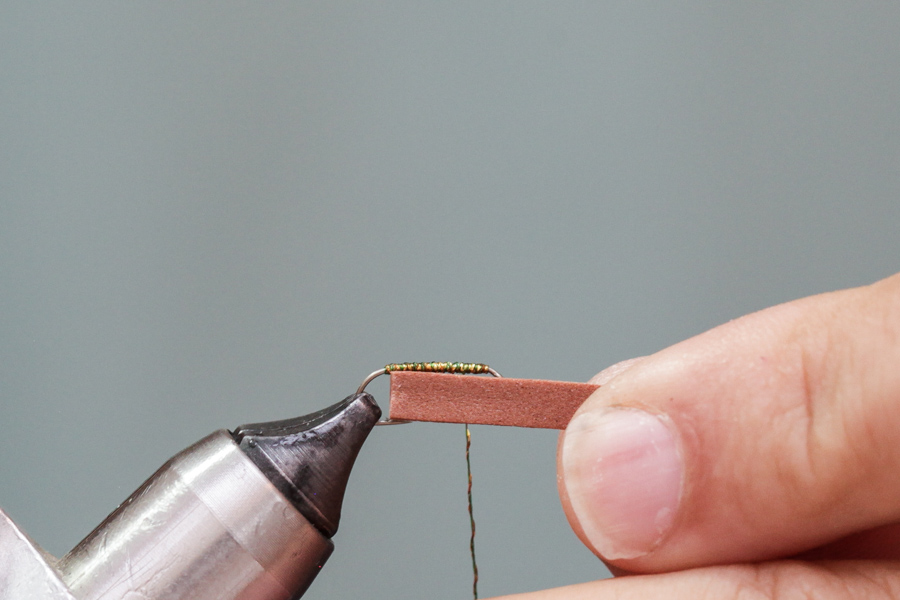
Step 2: Cut a strip of 1mm foam. Width of foam should be gap of hook in width, or little less.
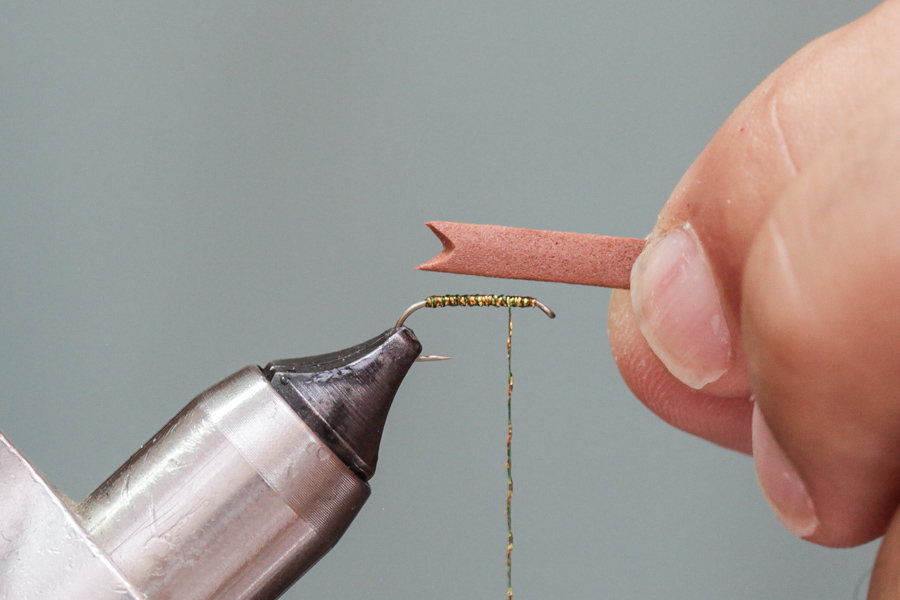
Step 3: Cut a “V” shaped notch in foam strip.
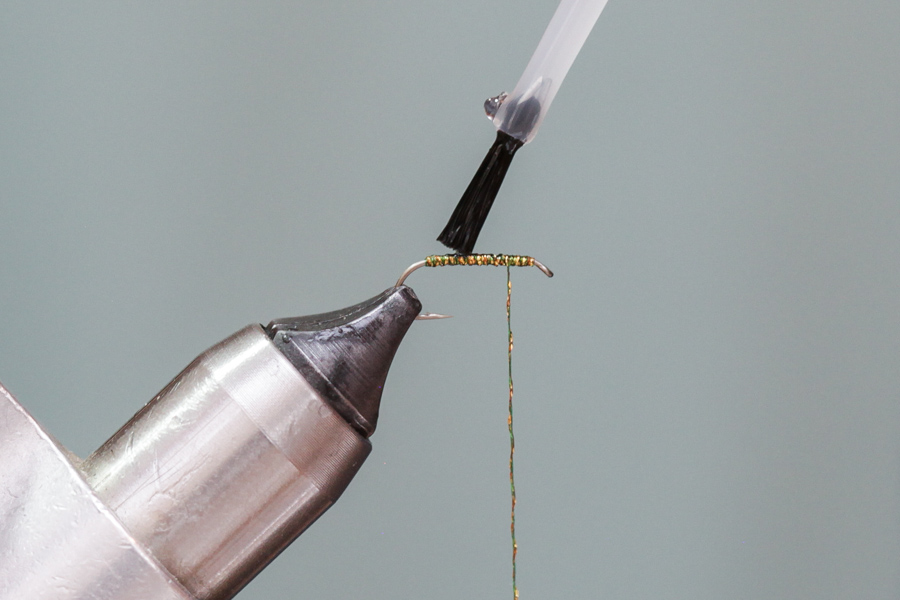
Step 4: Apply a thin layer of superglue to the thread wraps from the barb, to the hanging thread only.
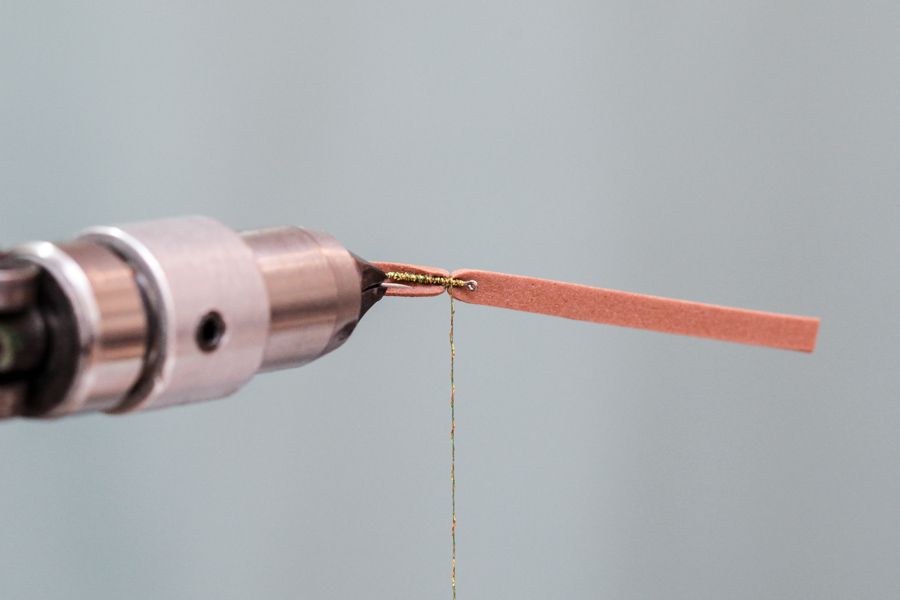
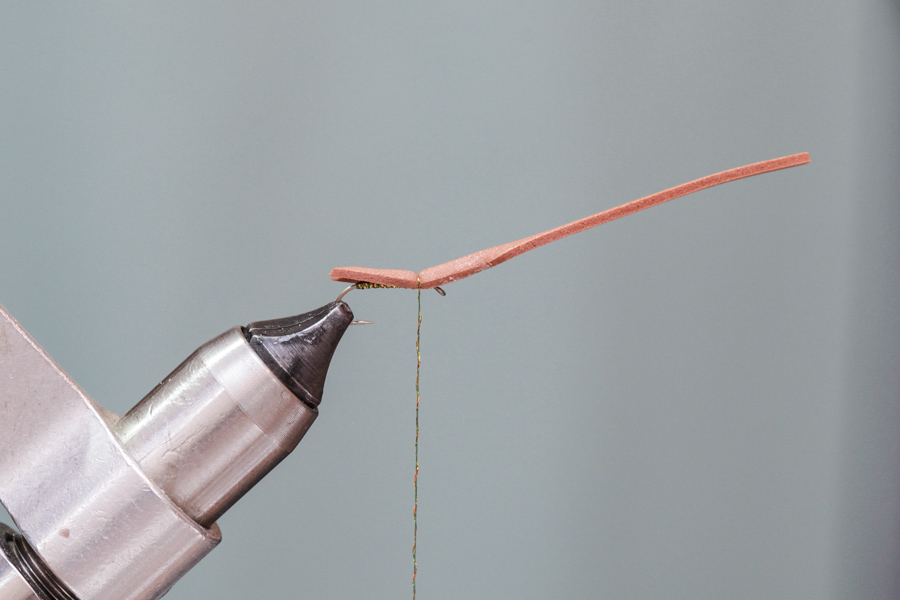
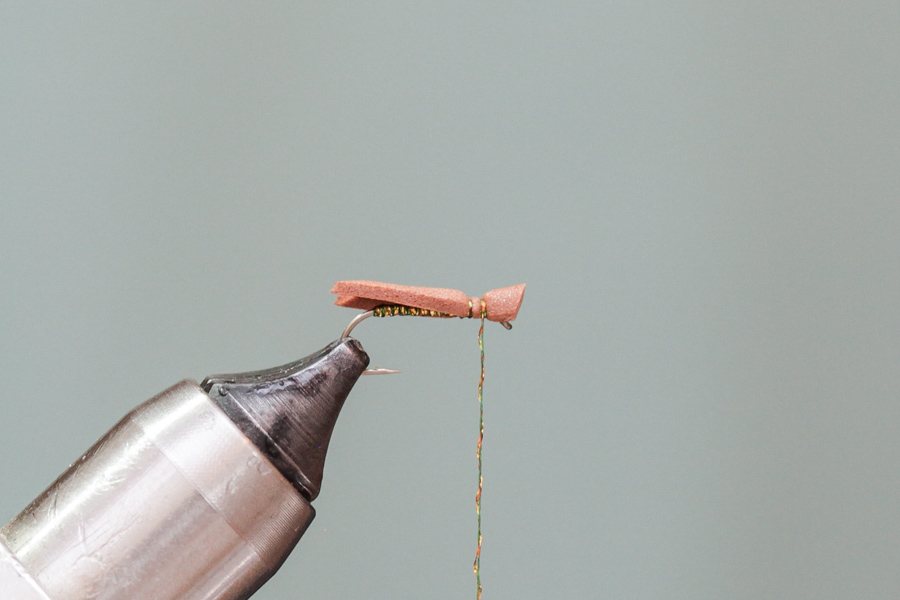
Step 5: Place foam strip onto hook. The foam underwing should be centered on the hook and should extend just beyond bend of hook.
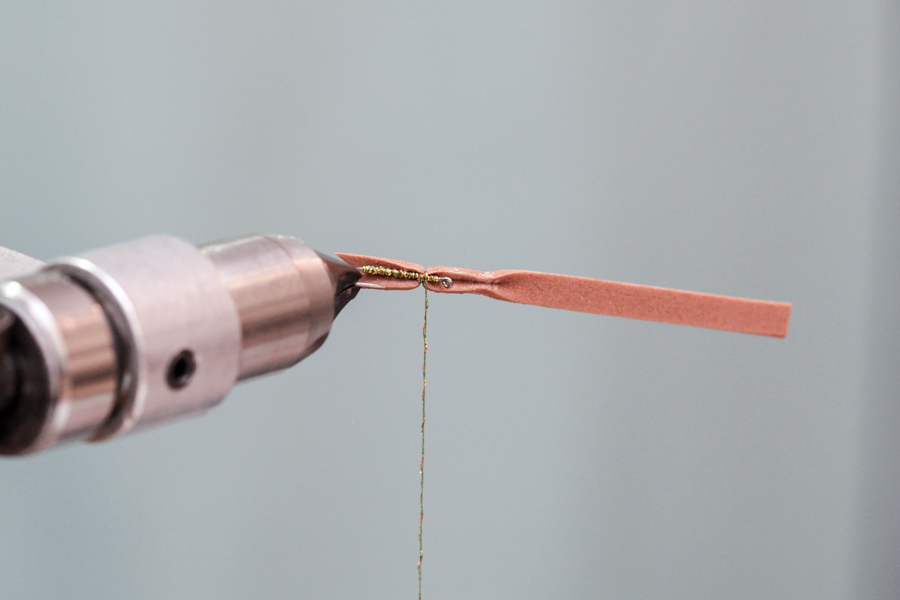
Step 6: Bind down foam strip with 2 wraps of thread.
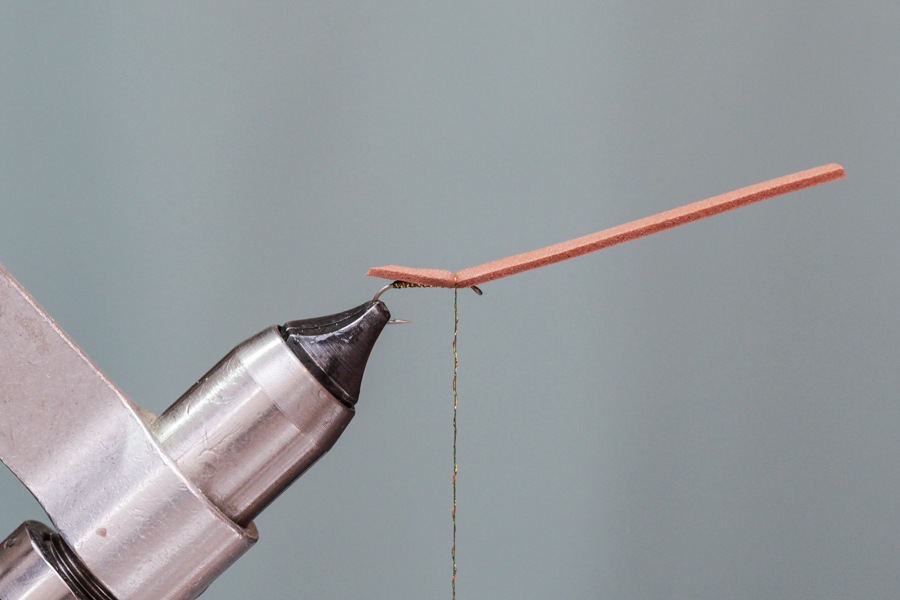
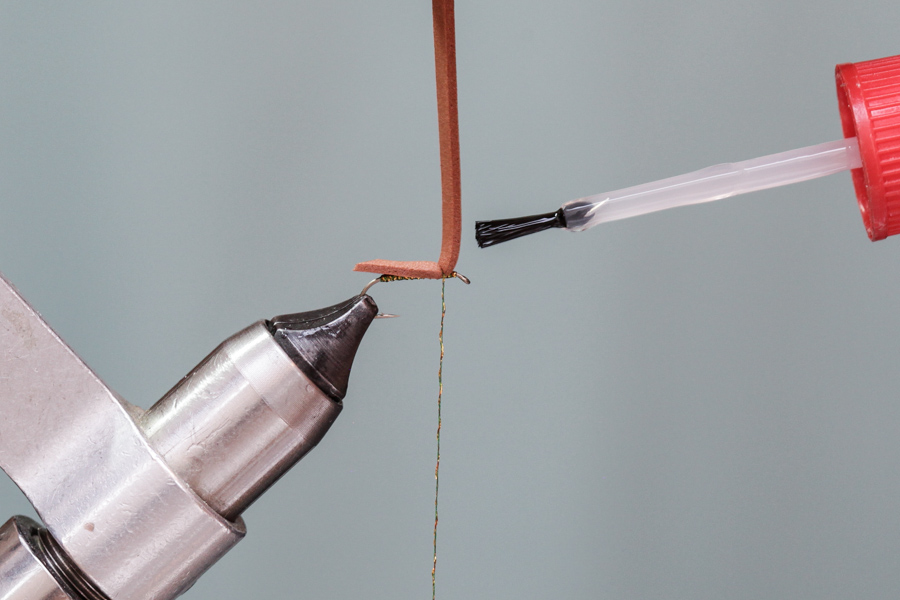
Step 7: Lift foam strip as shown and apply a thin layer of superglue to underside of foam.
Step 8: Fold foam in half, length-wise.
Step 9: Hold the folded foam for a few second until the superglue dries. This creates a slender, caddis-like head.
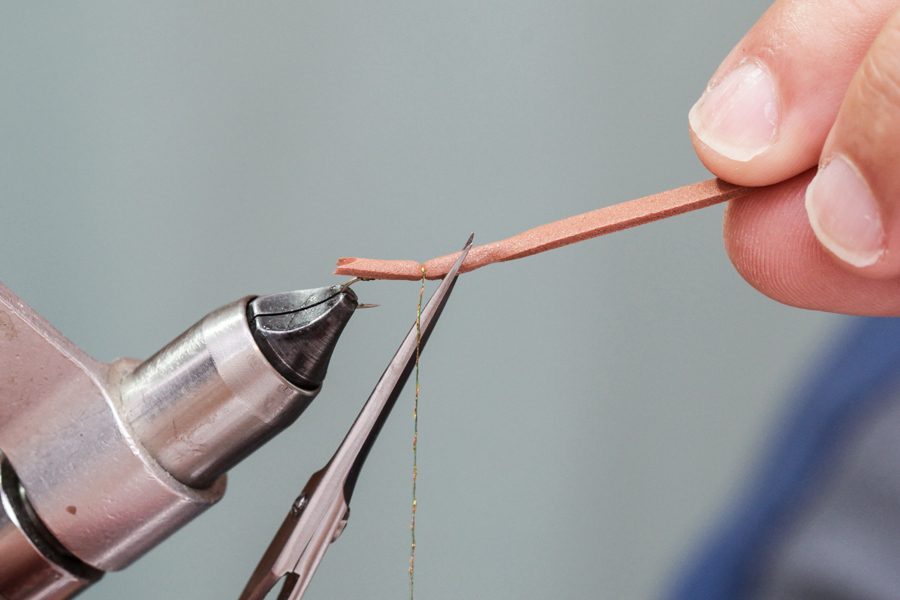
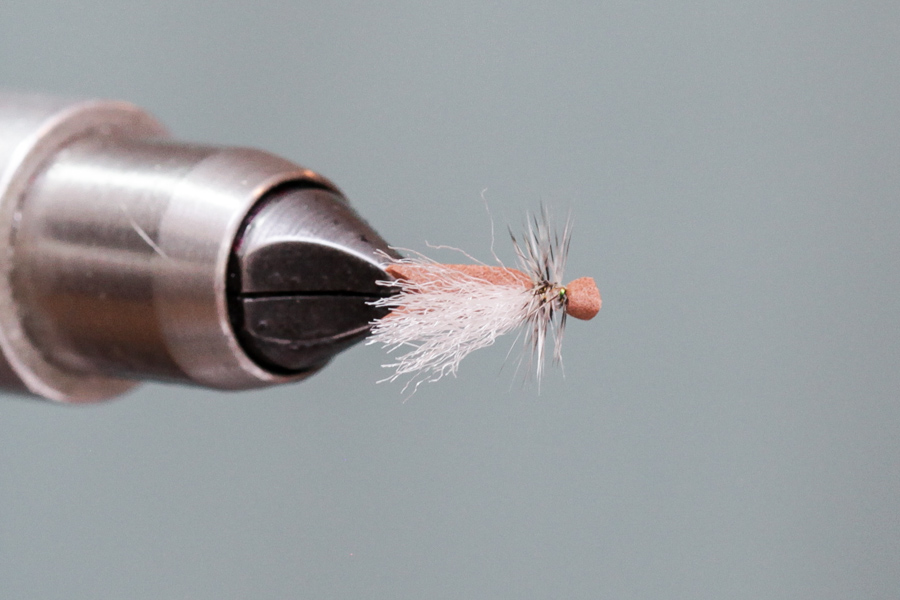
Step 10: Trim remaining strip of foam as shown at a slight angle.
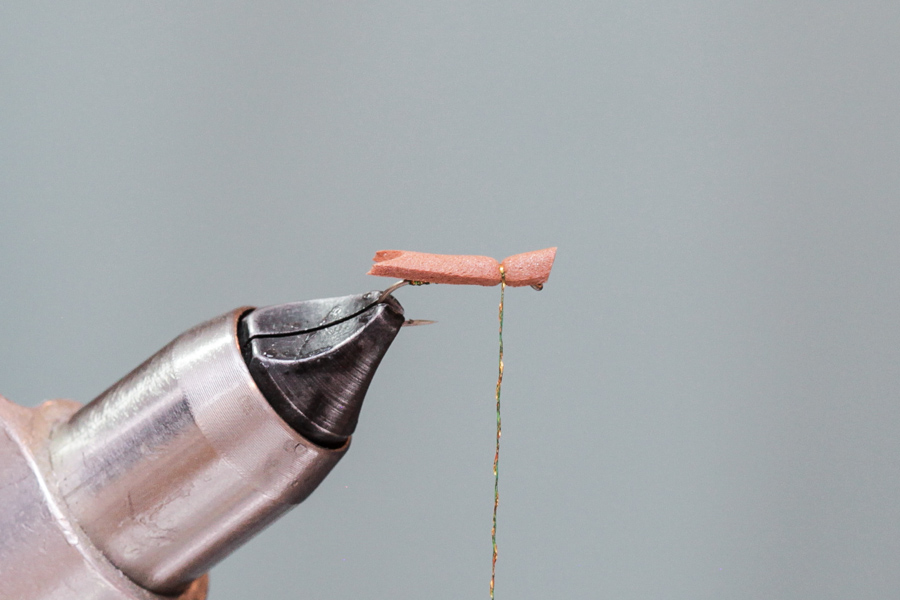
Step 11: Photo of trimmed head.
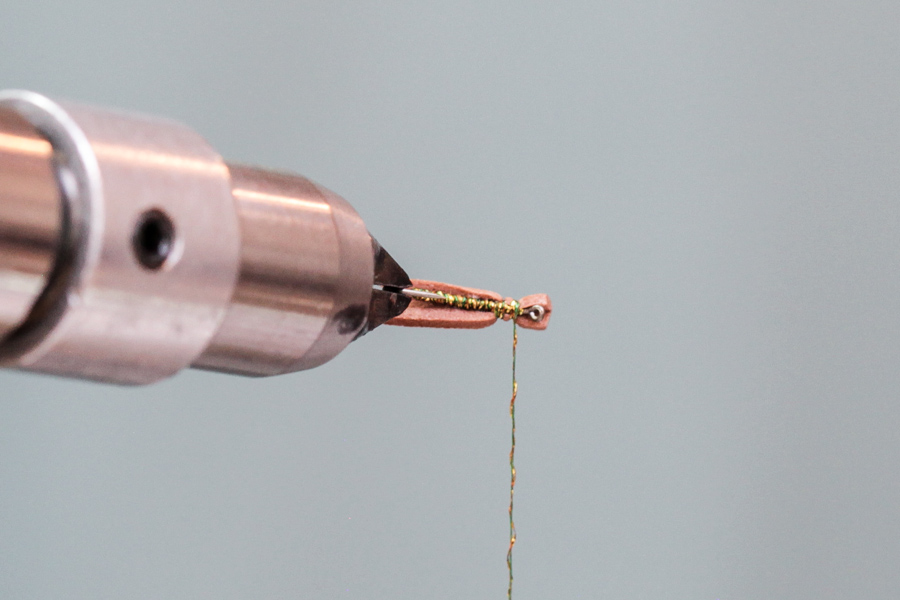
Step 12: Bind down foam body with 2-3 turns of thread as shown above.
Step 13: View of underside of body.
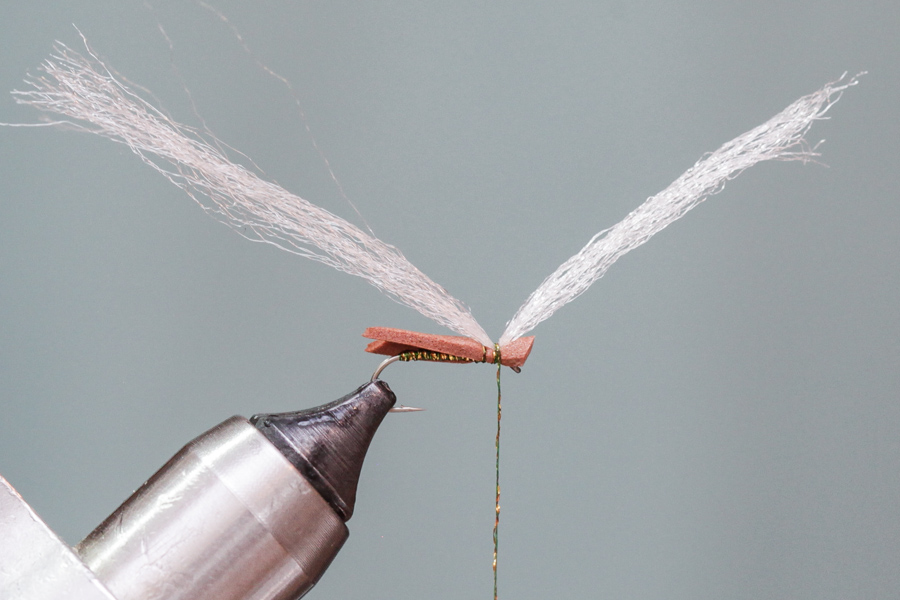
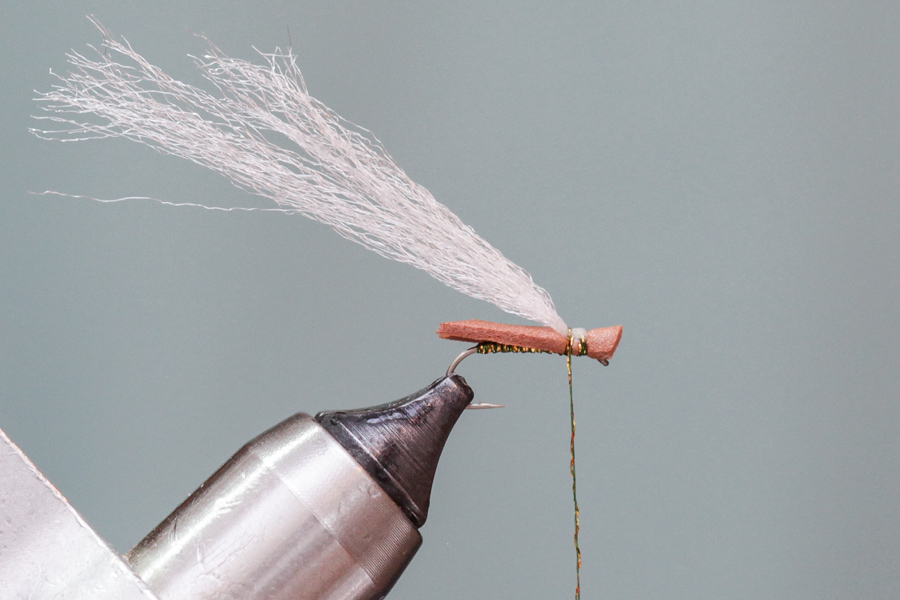
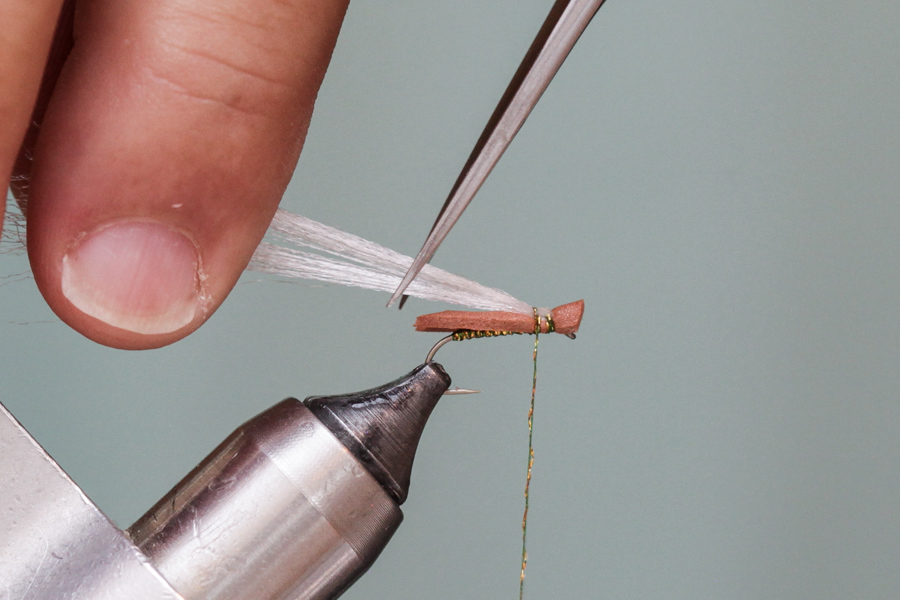
Step 14: Apply 1/2 strand of poly yarn with 1 wrap of thread. You can try to substitute poly wing with z-lon or antron, but poly wing floats this fly like a cork while nylon doesn’t.
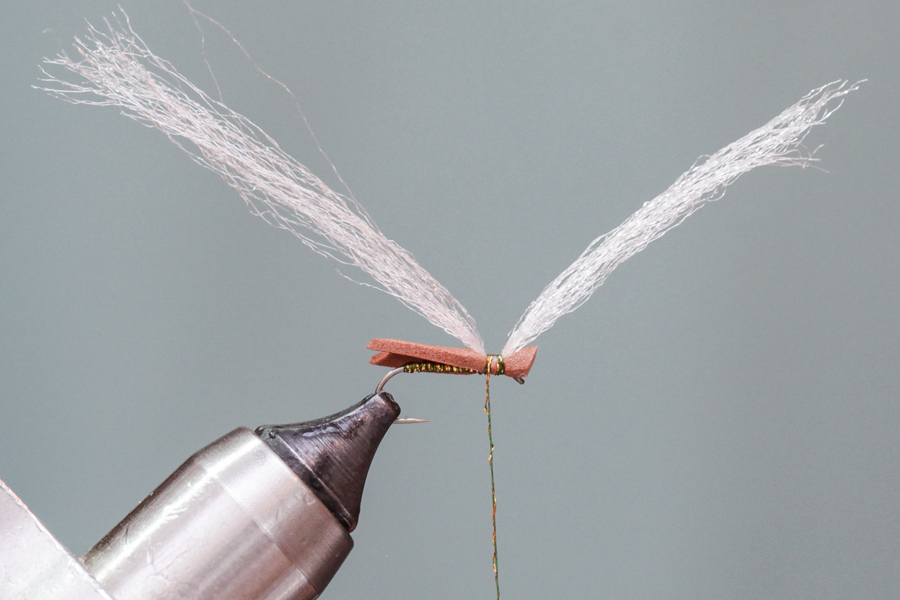
Step 15: Advance thread back, then bind down poly wing with 1 thread wrap.
Step 16: Sweep back the remaining poly strand and bind down wing with 2-3 wraps of thread.
Step 17: Trim poly wing just beyond end of foam body as shown. I typically stretch the poly wing back, then cut the wing about 1/8″ beyond foam body.
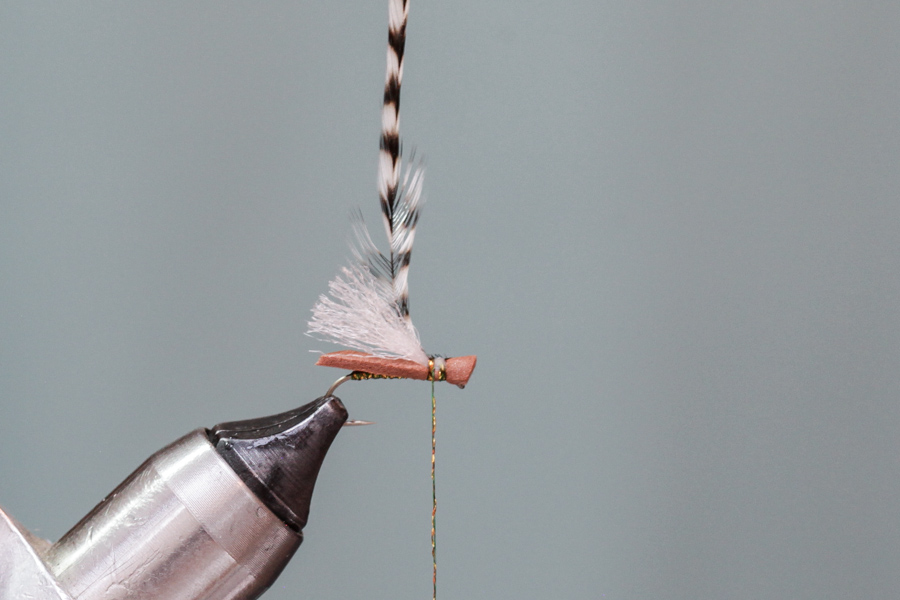
Step 18: Attach a hackle stem with 2-3 wraps of thread.
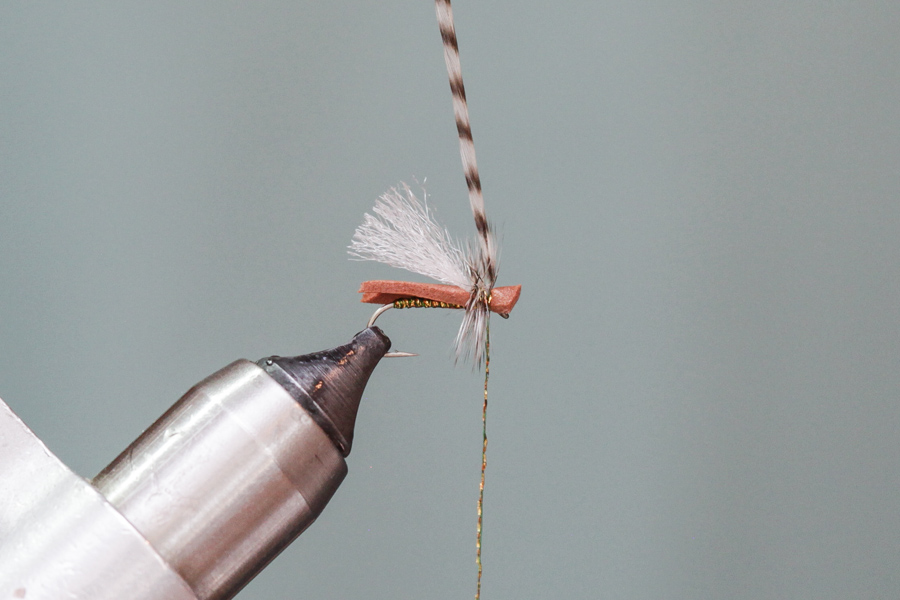
Step 19: Apply 3 turns of hackle, then secure hackle with 2-3 turns of thread.
Step 20: Trim a “V” in the hackle on the bottom of the fly, flush with the body.
Step 21: For a more durable fly, apply a dab a superglue to trimmed hackle wraps.
Step 22: Complete Simple Foam Caddis.
If you enjoy our step-by-step fly tying tutorials, we would love it if you check out The Hopper Store, our online store where we sell our favorite foam fly tying products and fishing accessories.

