PATTERN DESCRIPTION: The Slim Jim is a versatile pattern that I came up with a few years ago and have been using ever since. It can be tied as an attractor, or fine tuned to imitate specific caddis or stoneflies. Bulky foam patterns like the Chubby Chernobyl or the Morrish Hopper sit very low in the water creating an easy, bold image for the fish to see. In low, clear water, fish may eventually shy away from bulky flies and more readily take higher riding flies that sit on top of, rather than in, the water. The Slim Jim sits high on the water and presents more of a slim, fluttering profile that really seems to attract fish. I have had great success with this fly in size 6 using 2mm black fuzzy foam on the Big Hole and Yellowstone Rivers, and had similar results fishing a size 14 tan/red or tan/pink Slim Jim during the peak of summer when the fish weren’t looking for traditional, bulky hopper patterns. The 2mm fuzzy foam is a unique and simple material that can be incorporated into many foam fly patterns. Simply match the tying thread to the color of fuzzy foam, and you get a great looking buggy fly without the use of any dubbing.
MATERIALS NEEDED:
Hook: Dai Riki 710 sizes 4-16 (3xl nymph hook)
Thread: 8/o Veevus (match thread to fuzzy foam color)
Body: 2mm Fuzzy Foam or MH Fuzzy Bodies
Wing: Chubby Wing (poly)
Legs: Zebra Hopper Legs
Post: 1mm Orange Foam
Or you can get our Slim Jim Hopper Kit that includes enough fuzzy bodies, poly wing, legs, hi-vis post material for 1 dozen flies.
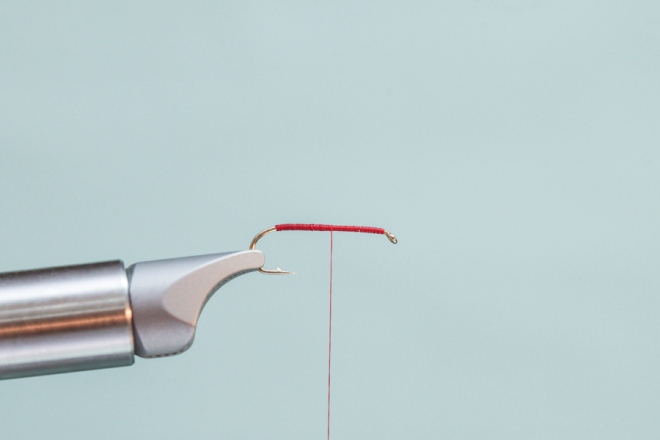
Step 1: Wrap a 3 layer thread base onto hook. End at mid point.
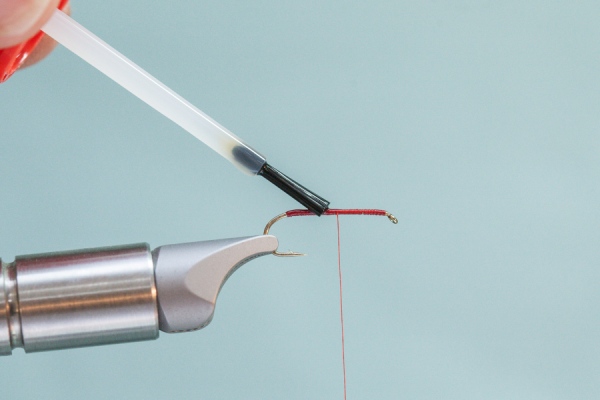
Step 2: Apply a thin coat of SuperGlue to thread wraps. Apply glue to mid point of hook and back to point of hook only.
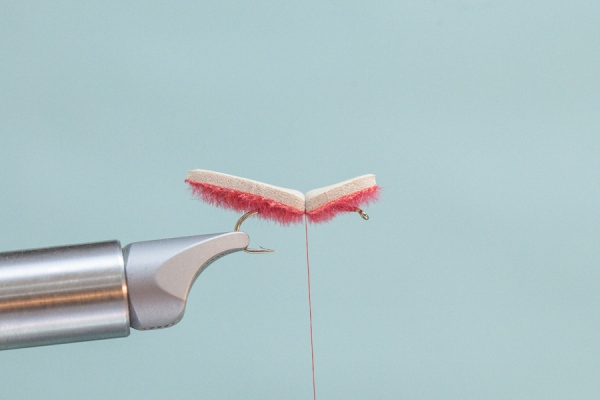
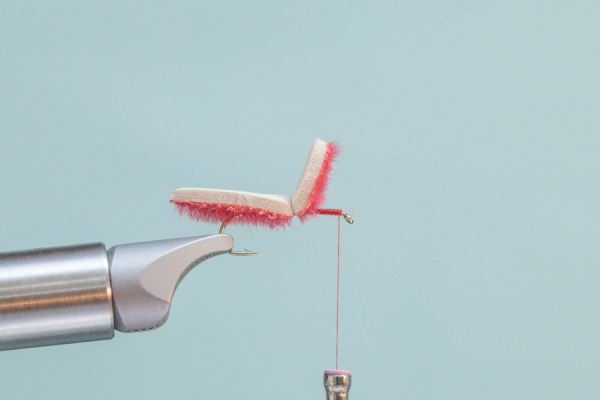
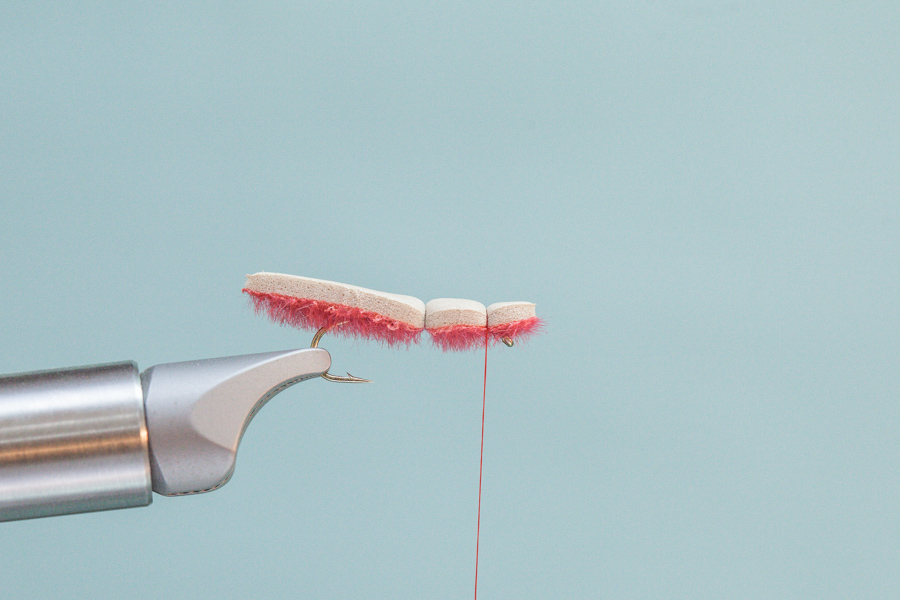
Step 3: Attach MH Fuzzy Body or shaped Fuzzy Foam body to hook with 3-4 firm wraps of thread.
Step 4: Advance thread to just behind hook eye.
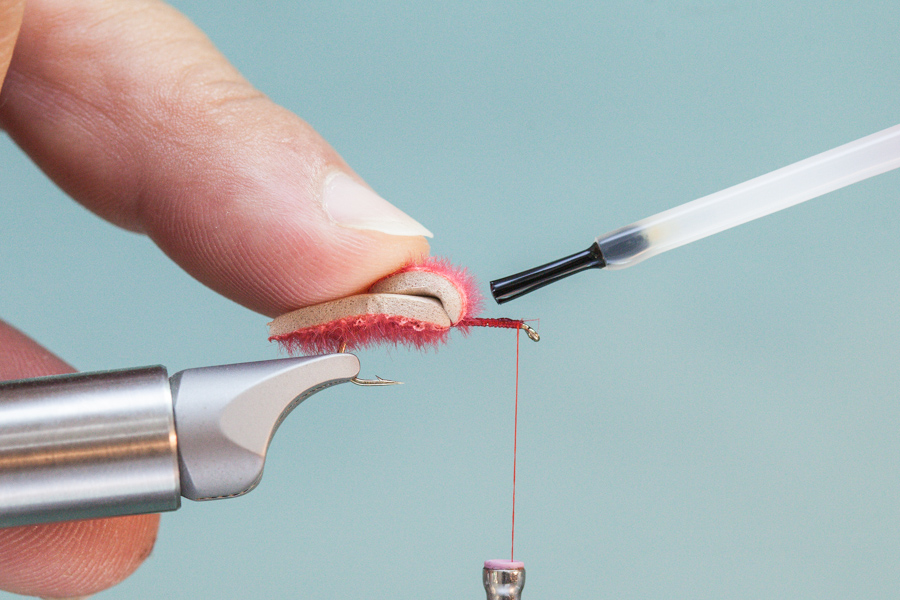
Step 5: Apply thin layer of SuperGlue to remaining thread wraps.
Step 6: Bind down foam body with 2-3 firm wraps of thread.
Step 7: Take care not to crowd eye of fly.
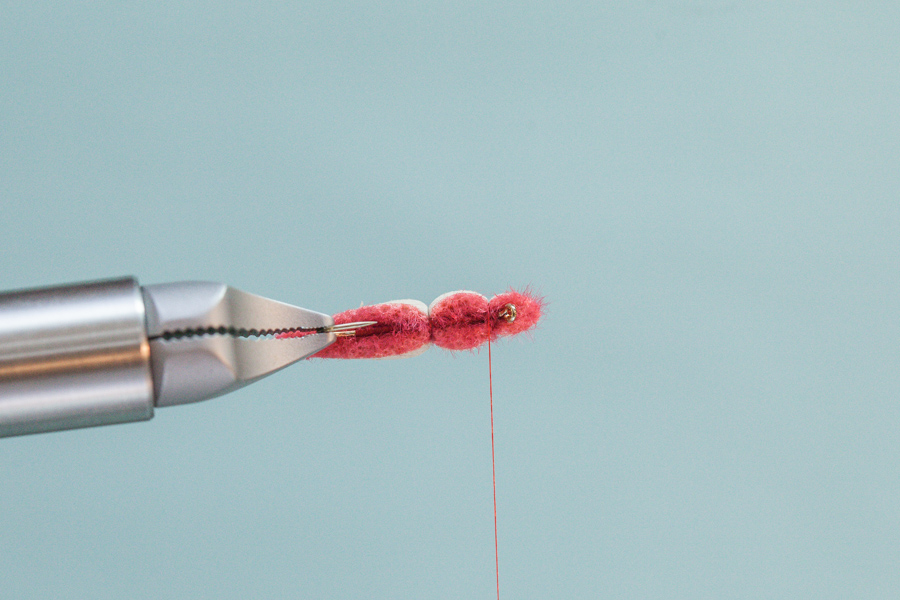
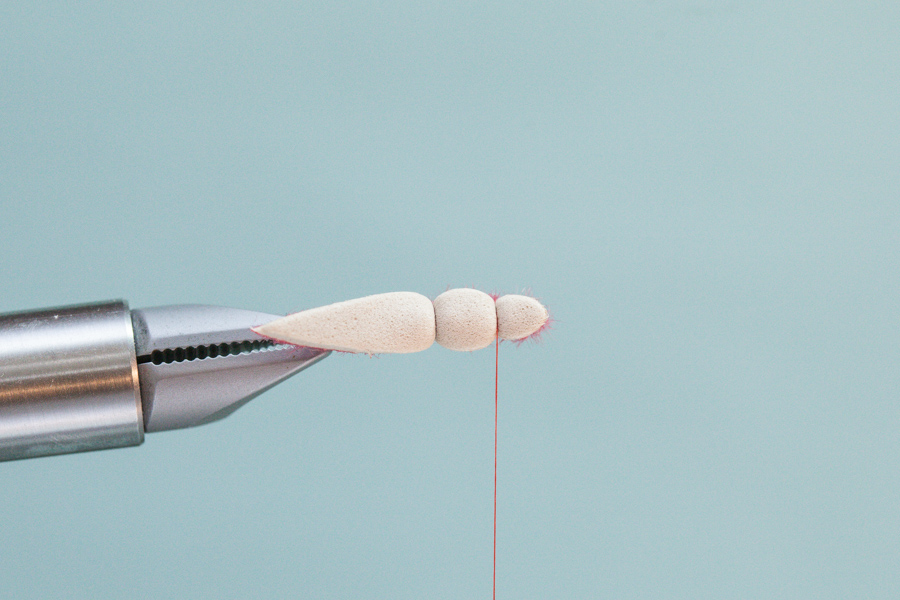
Step 8: Top view of attached foam body.
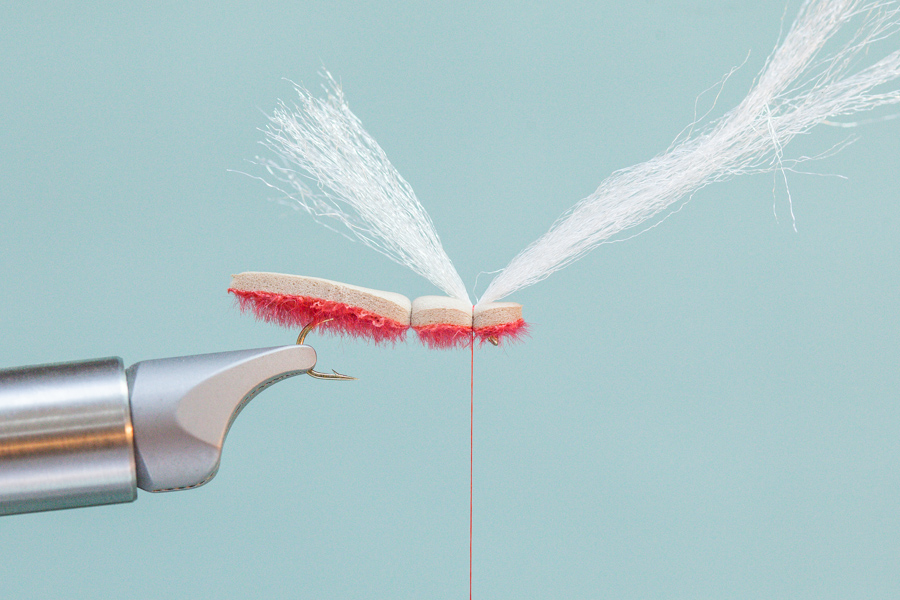
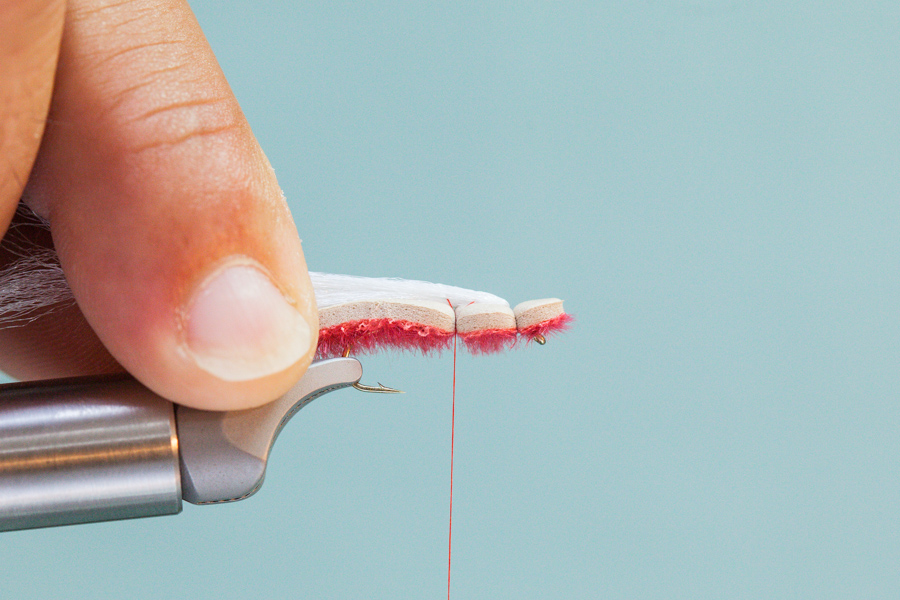
Step 9: Attach a single strand of Poly Wing to top of fly with 2 wraps of thread.
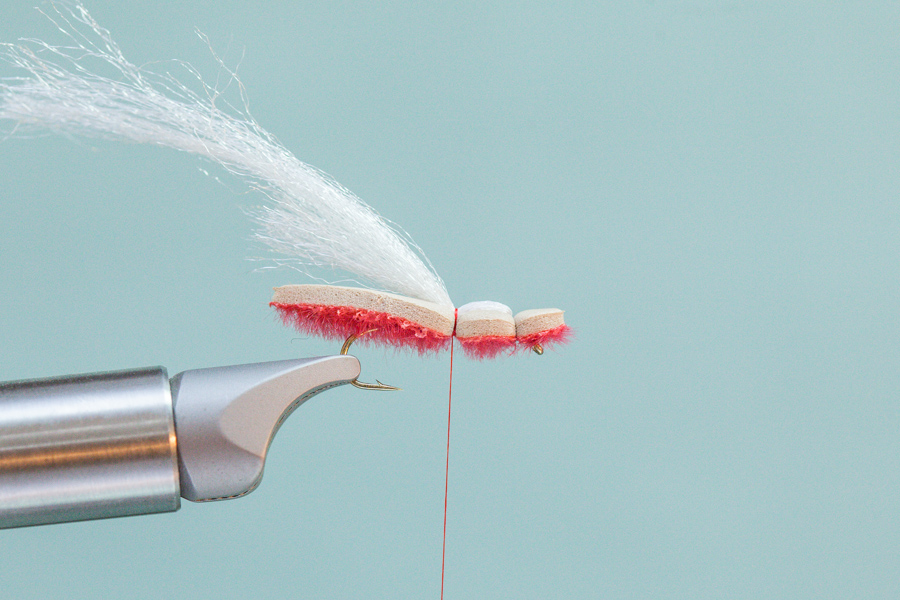
Step 10: Advance thread back to previous segment as shown above. Next, lightly pull back poly wing.
Step 11: Bind down wing with 2-3 firm wraps of thread.
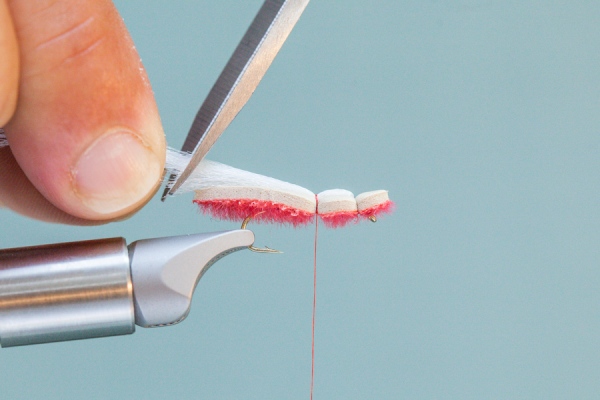
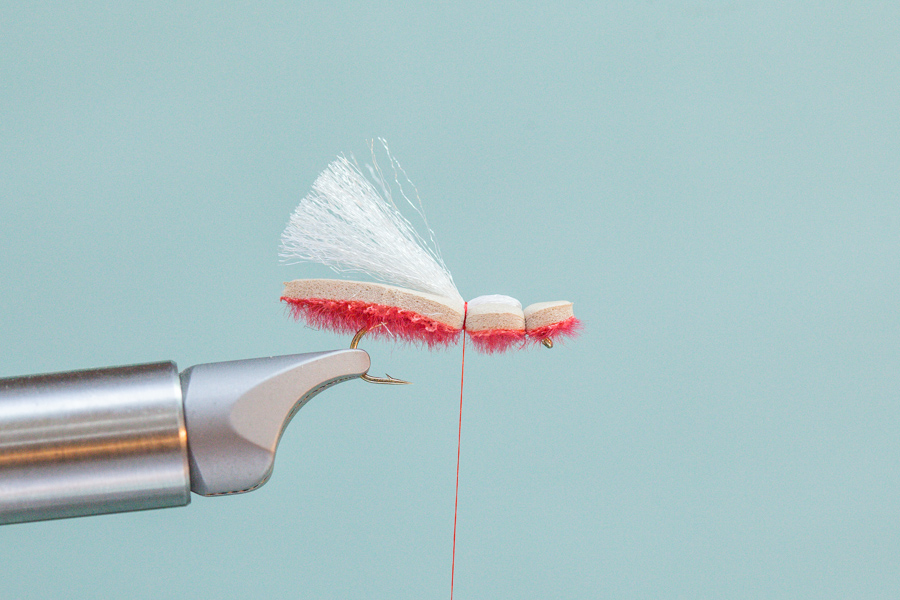
Step 12: Trim poly wing to length. Length of wing should extend to end of body, or just beyond.
Step 13: Trimmed wing.
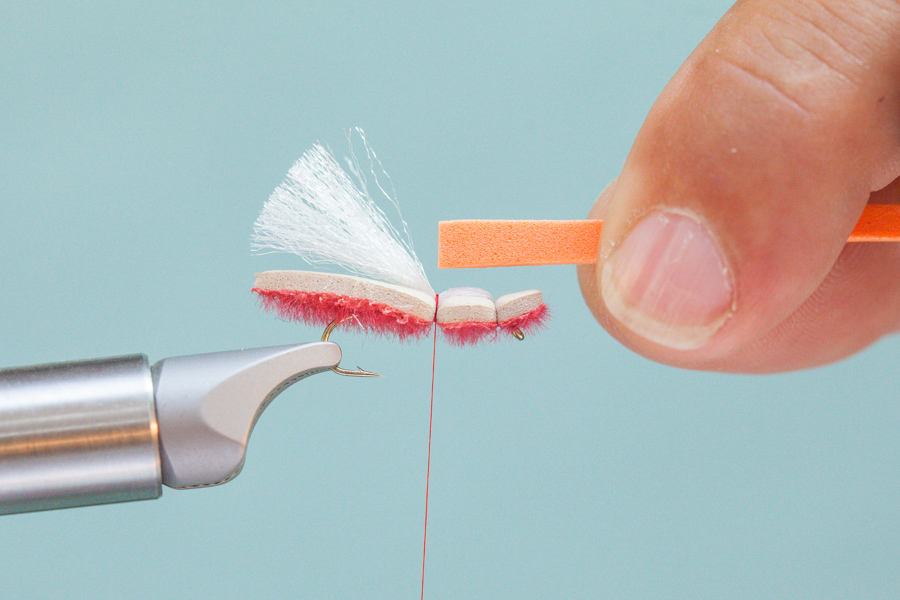
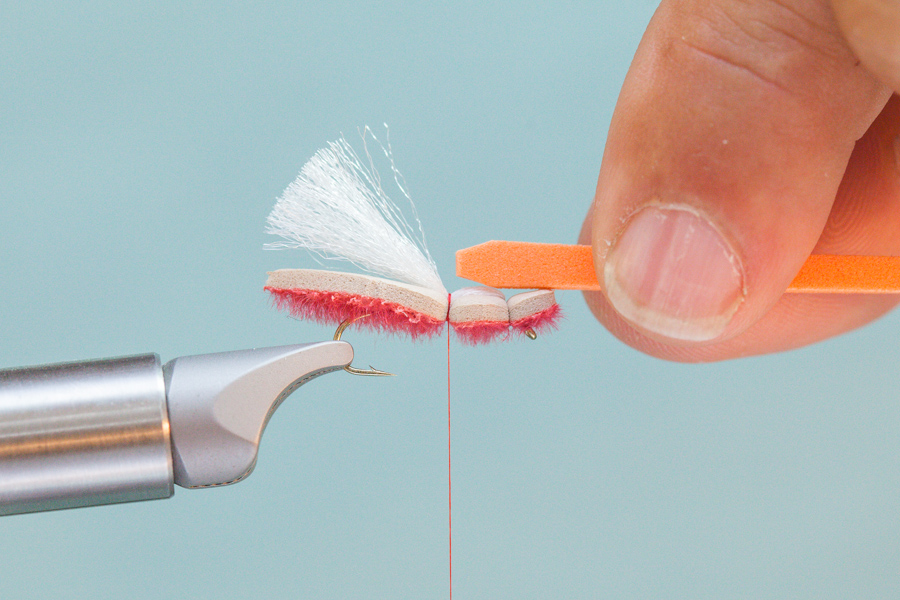
Step 14: Prepare a strip of 1mm orange foam. Strip of foam should be width of foam body.
Step 15: Round edges of orange post.
Step 16: Secure post with 2 firm wraps of thread.
Step 17: Prepare Zebra Hopper Legs. Pictured are Fine Zebra Hopper Legs – Goldenstone, trimmed to length of body.
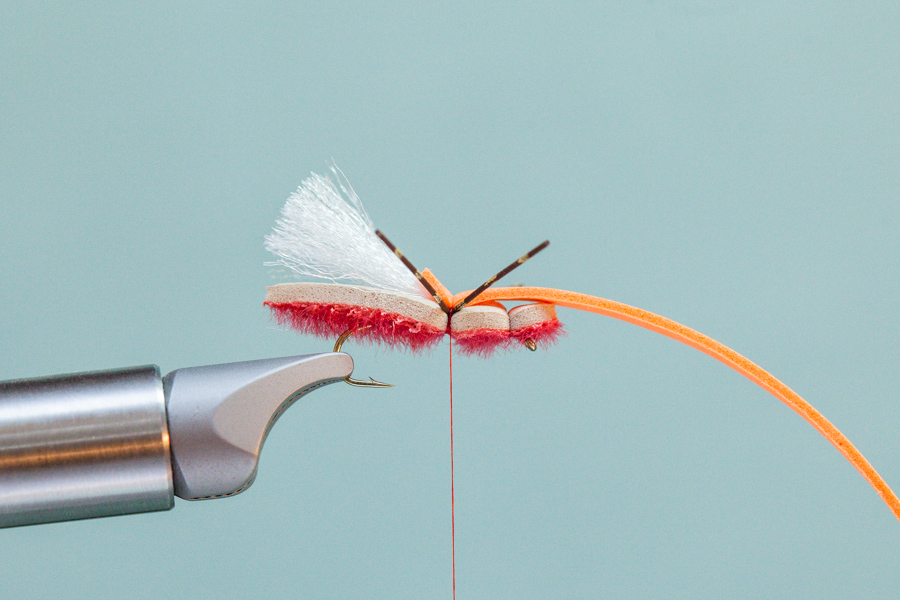
Step 18: Bind down legs on both sides of body with 5-6 thread wraps. You will further secure the legs later with SuperGlue.
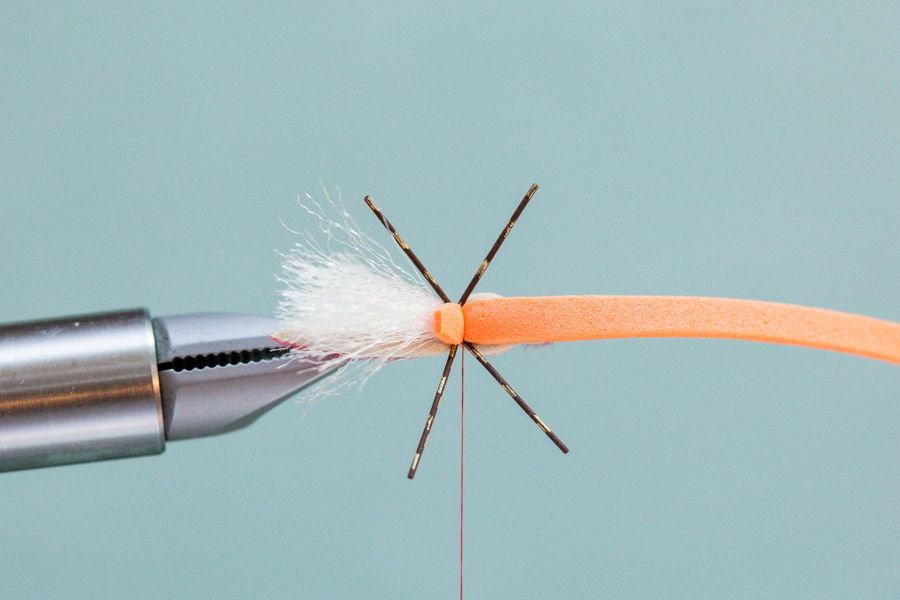
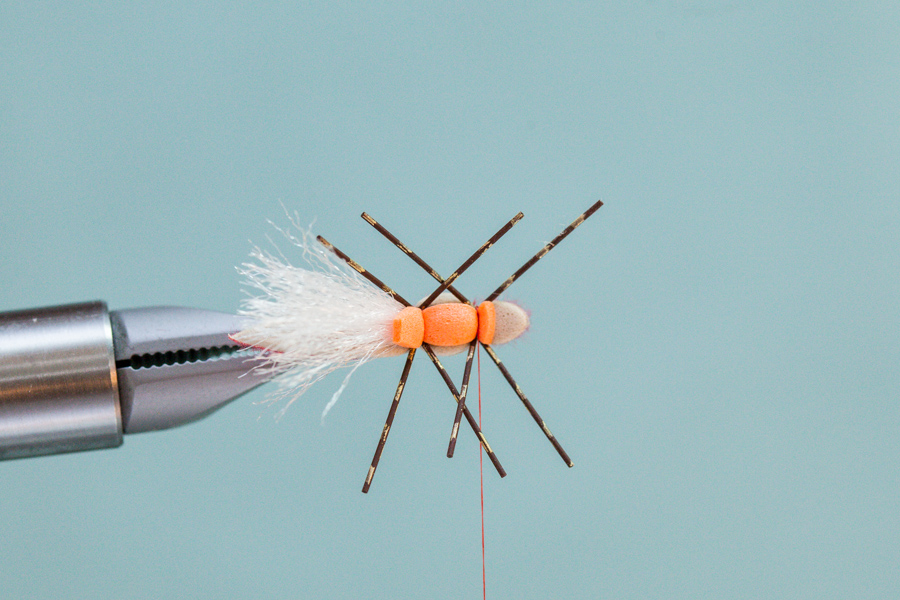
Step 19: Top view of tied in legs.
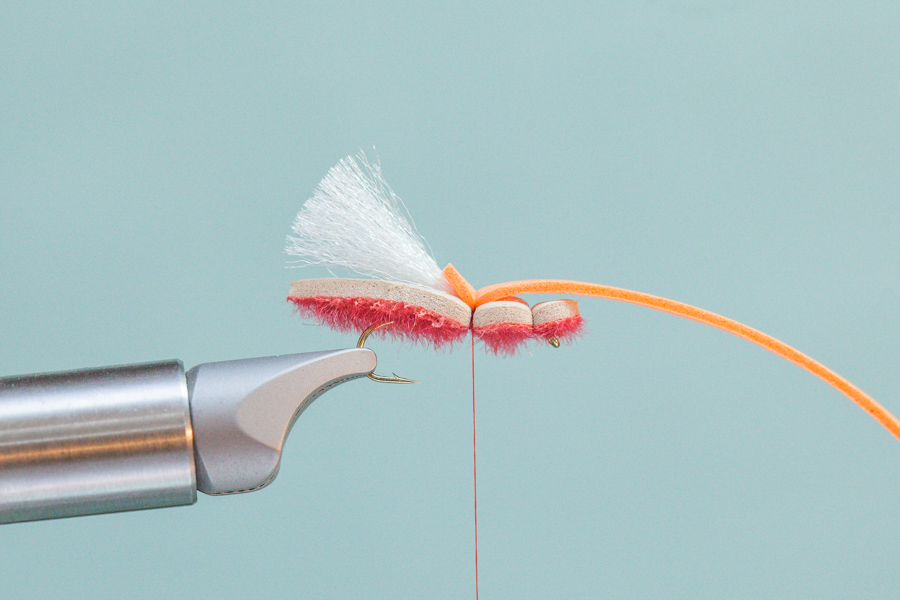
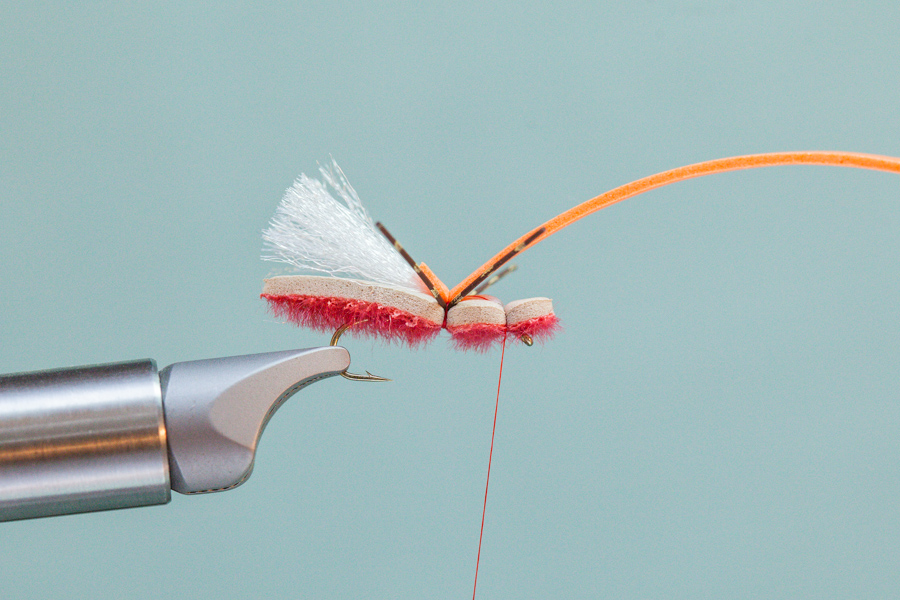
Step 20: Lift up orange foam strip and advance thread to forward segment, as shown above.
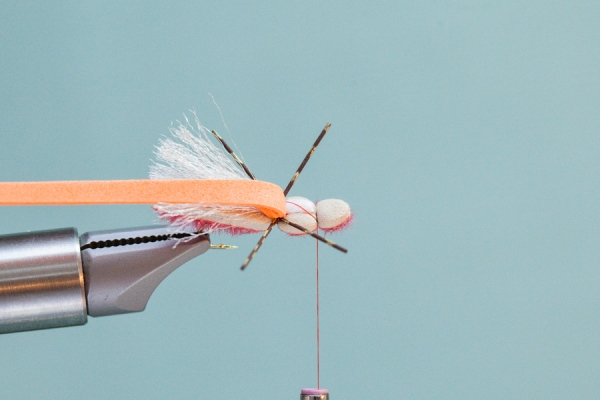
Step 21: Top view of thread advanced forward.
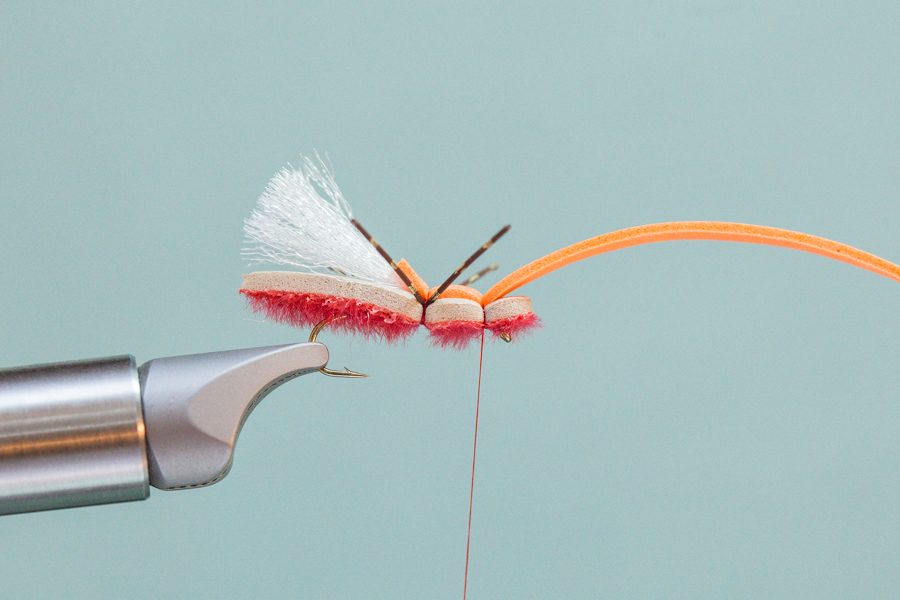
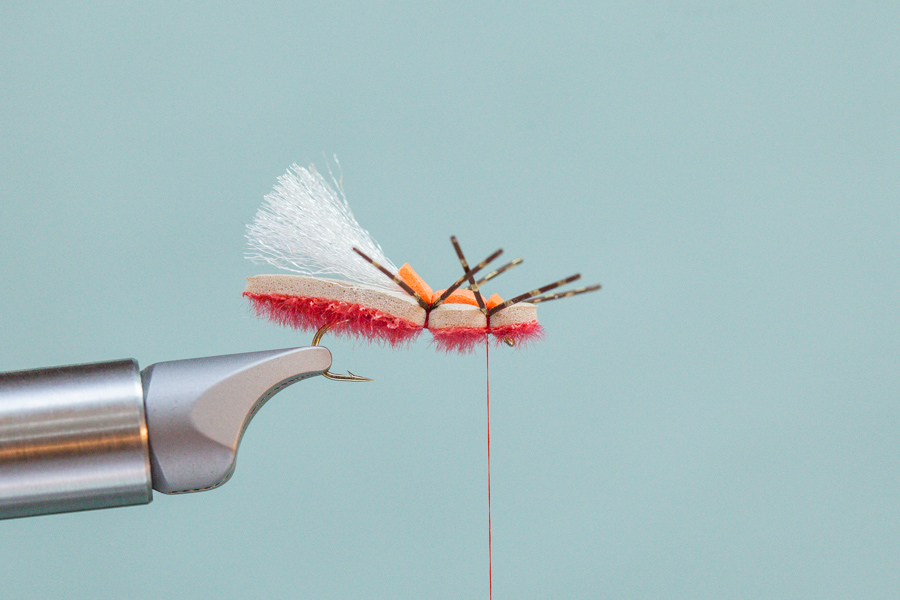
Step 22: Bind down orange foam strip with 2 wraps of thread.
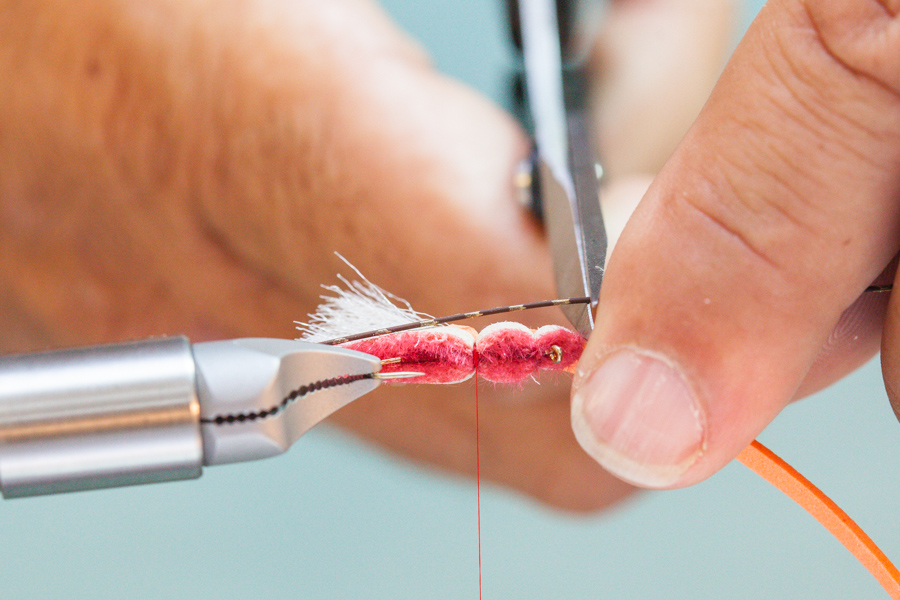
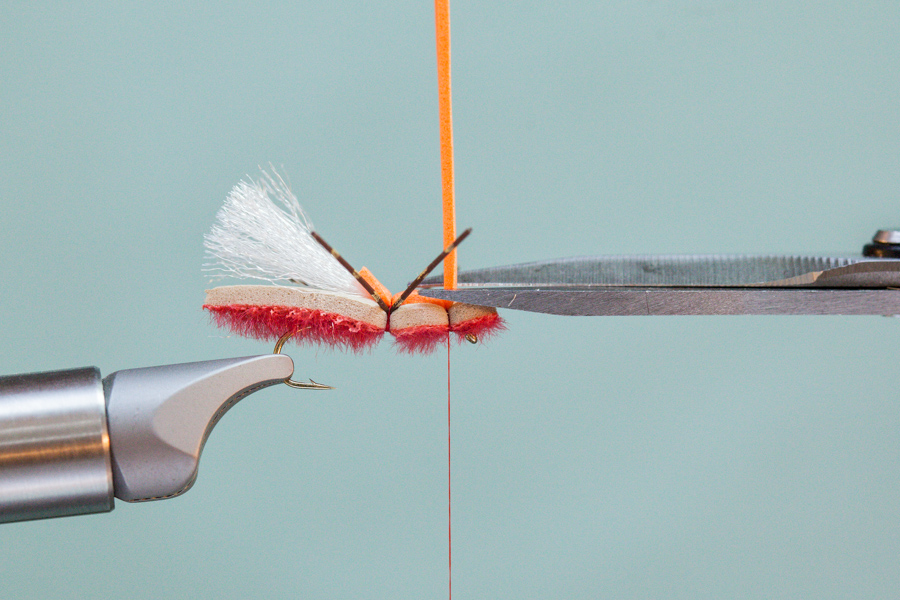
Step 23: Lightly stretch orange foam strip and trim flush. The more you stretch the foam the closer the cut.
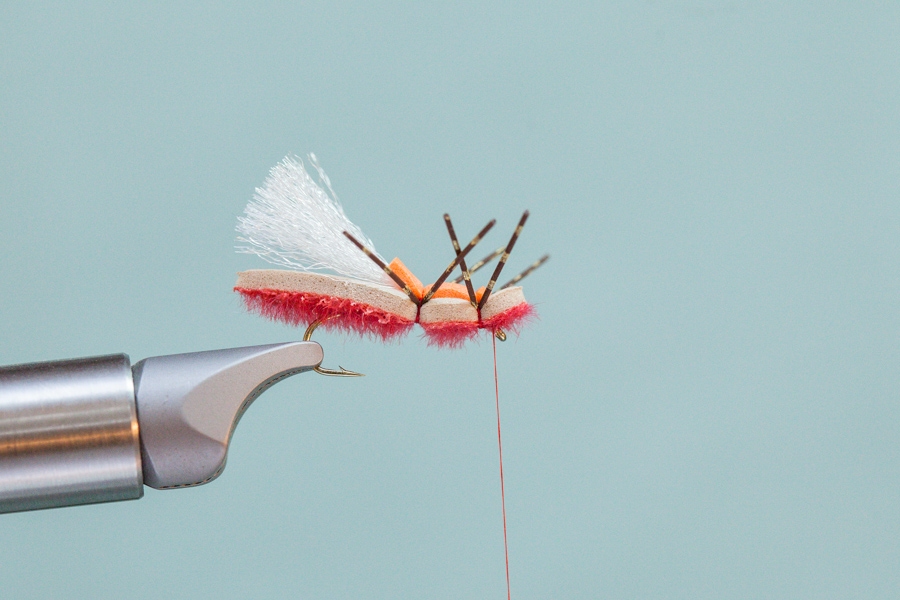
Step 24: Attach legs to both sides of body with 4-5 thread wraps.
Step 25: Tied in legs.
Step 26: Advance thread forward to hook eye, and whip finish. Carefully apply a small amount of SuperGlue to exposed thread wraps to secure legs.
That’s it! Give it a try and let me know what you think of this pattern. And send pics our way too – we always love to see what you’re creating from the tutorials.
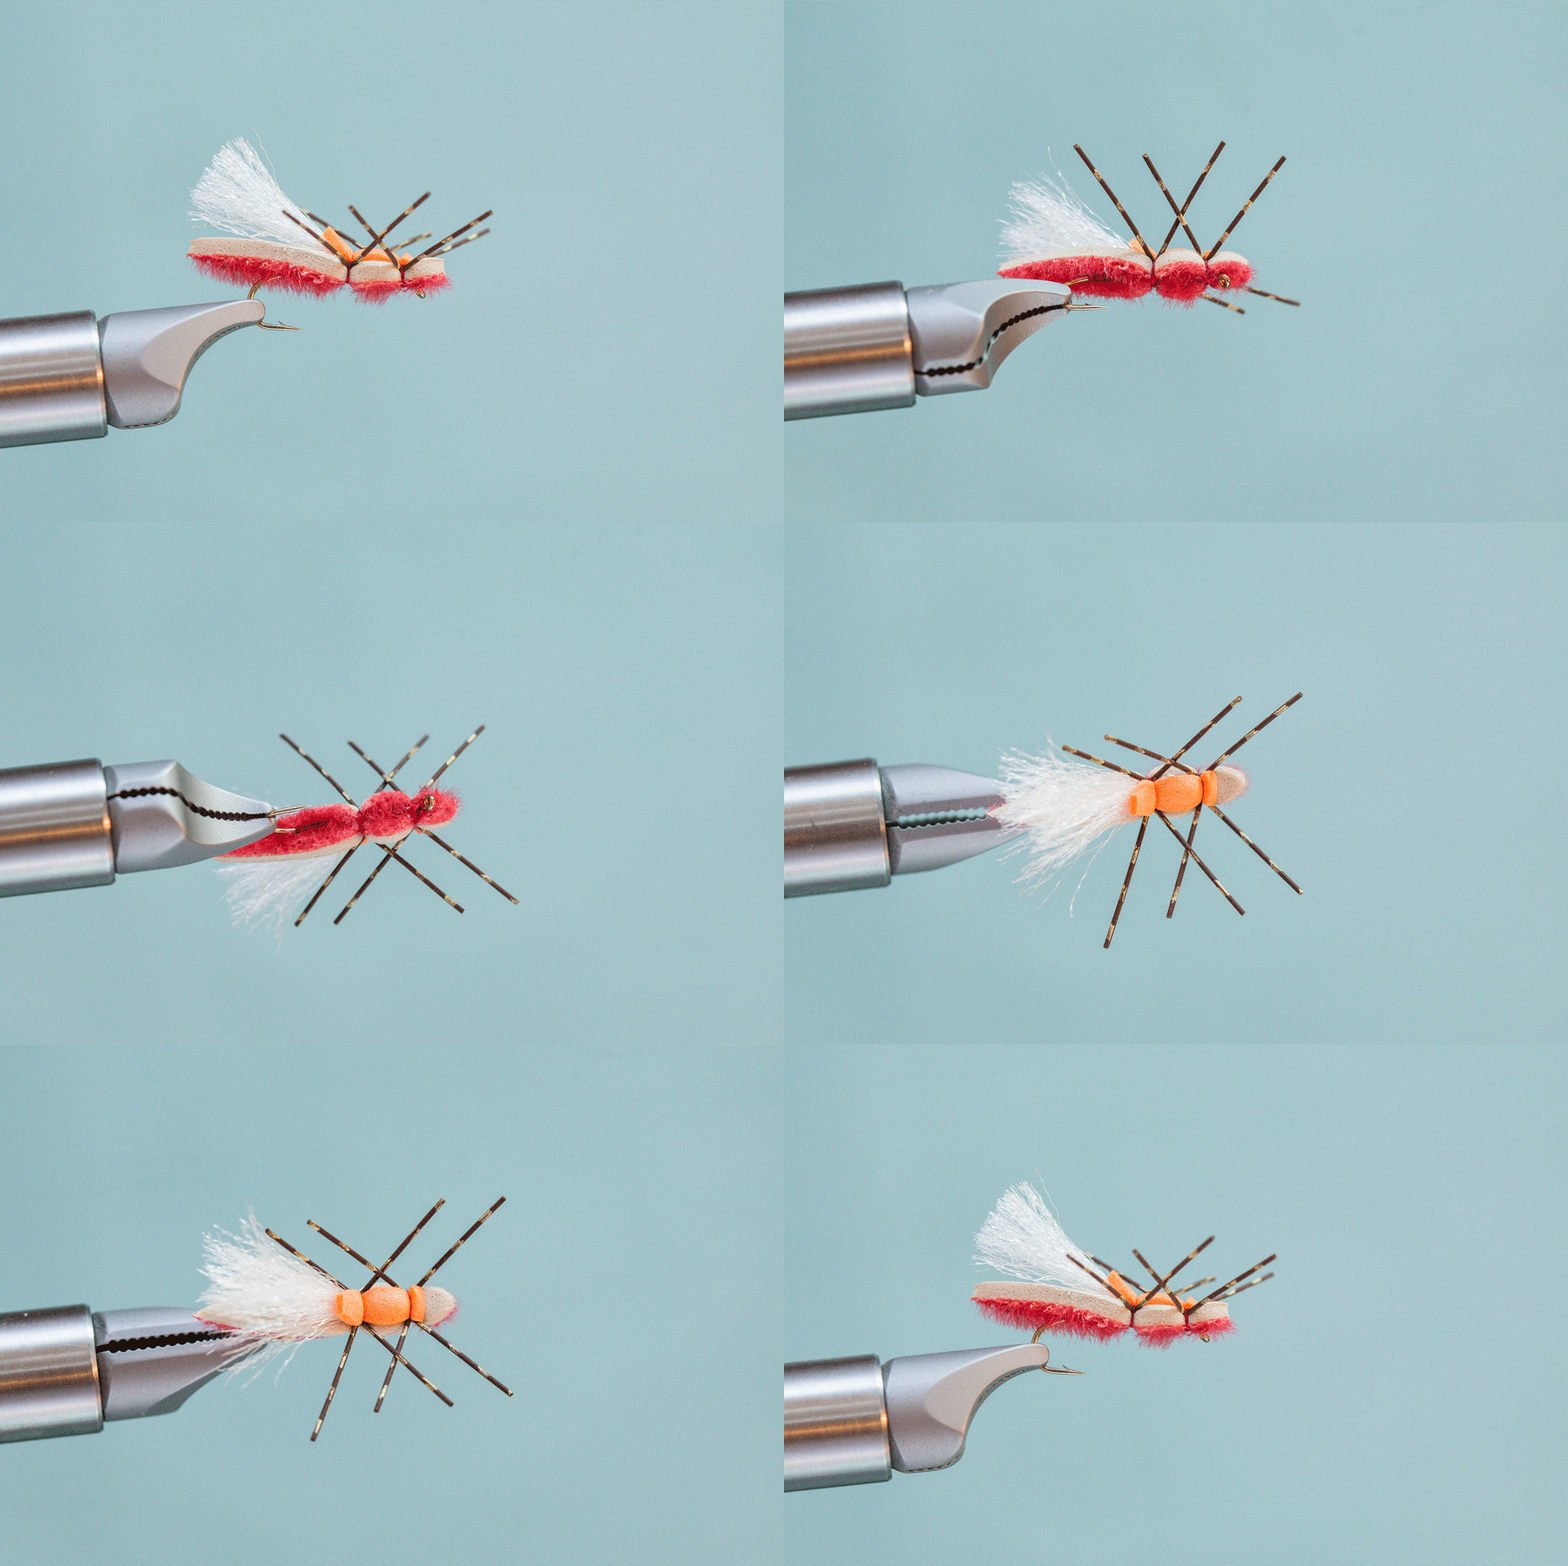
The 360˚ Slim Jim Hopper

Awesome tutorial! Makes me want to grab my Loomis rod and head out.