PATTERN DESCRIPTION:
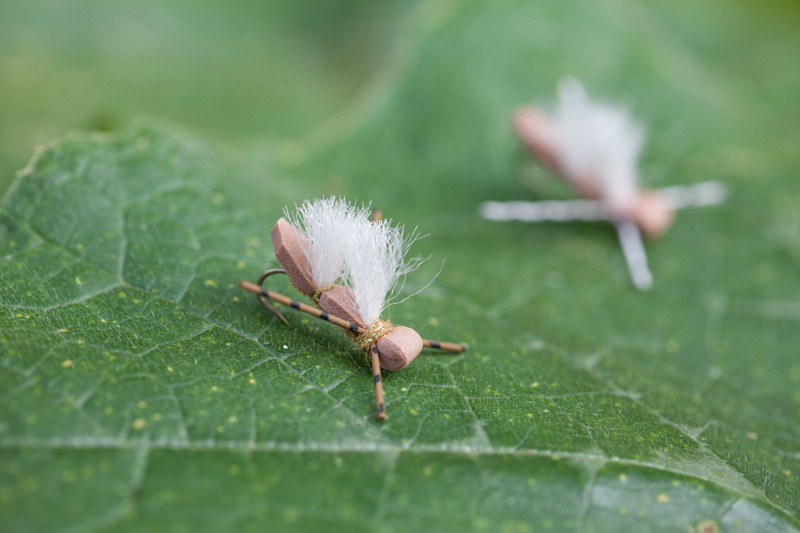
The Easy-E Hopper is an easy to see, easy to keep floating, and easy to tie, foam pattern that caught lots of fish this past summer. I generally tie this foam bullet-head pattern in smaller sizes to imitate caddis, stoneflies and little hoppers. The simple and durable madame-x style legs add lifelike movement to the pattern, but more importantly, the legs help this little pattern land upright and correct…nothing worse than having a pattern land sideways, or upside-down half the time, especially when you’re drifting from a boat and have one shot at a particular spot. This pattern is similar to the chubby chernobyl in appearance and float ability, with its thick dubbed body and poly wing. Yet, by omitting the the chernobyl style legs, and adding single legs and a bullethead, this pattern can be tied in much smaller sizes than the chubby chernobyl, down to size 14, to better imitate smaller insects and terrestrials. I tie this pattern mainly on a size 14, 3XL nymph hook with either tan or cocoa foam and a spiky hare’s ears dubbed body, or hare ear’s and ice dub mixed for a little more sparkle. I also tie this same pattern with a high-viz orange poly-wing for better visibility in poor light conditions. I thought the wing might scare off some fish, but they really didn’t seem to mind the bright orange wing. If you’re looking for great little attractor pattern, try tying up a couple of Easy E Hoppers and let me know how they work.
MATERIALS NEEDED:
Hook: Dai-Riki #710 nymph hook
Thread: UTC 70 denier
Body: 2mm foam cut to shape
Dubbing: Natural Hare’s Ear or Hare’s Ice Dub
Wing: Chubby Chernobyl Wing/Poly
Legs: Zebra Hopper Legs – Goldenstone
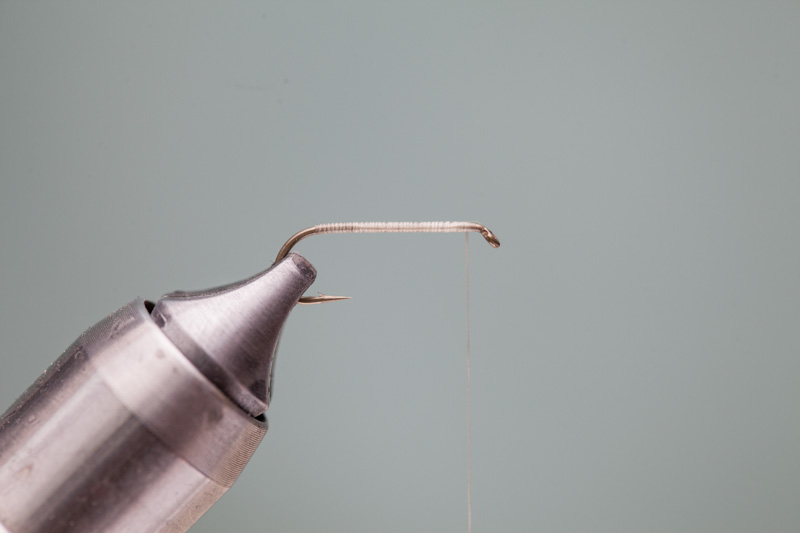
Step 1: Form a thread base on hook. End thread at hook eye.
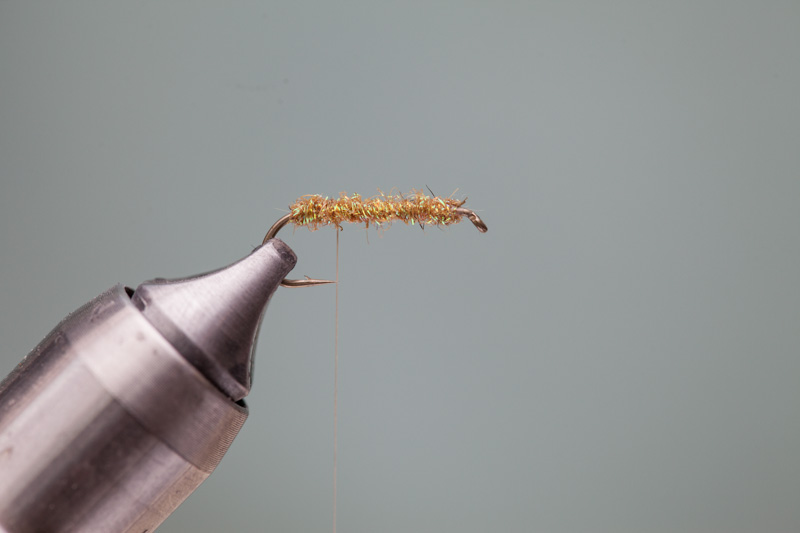
Step 2: Dub a fairly thick body as shown above. End thread at hook point.
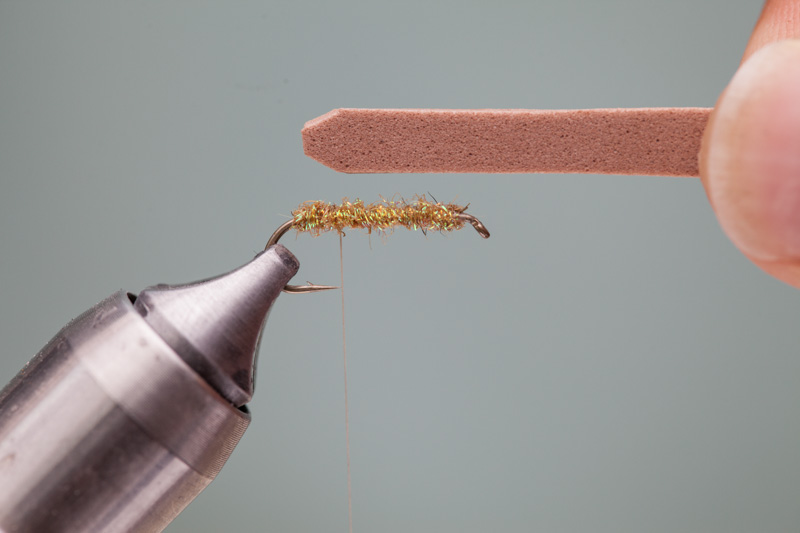
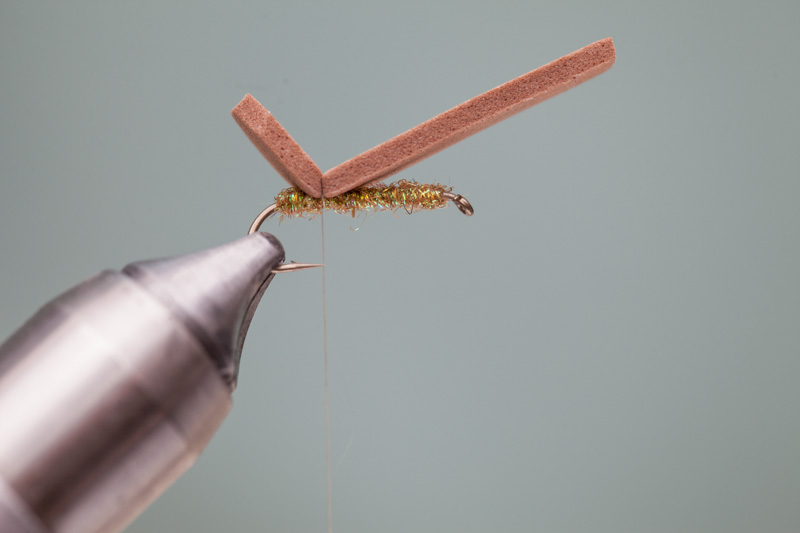
Step 3: Cut a strip of 2mm foam to shape. The width of foam should be width of gap of hook and tapered at one end as shown.
Step 4: Attach foam strip to hook with 3-4 firm wraps of thread.
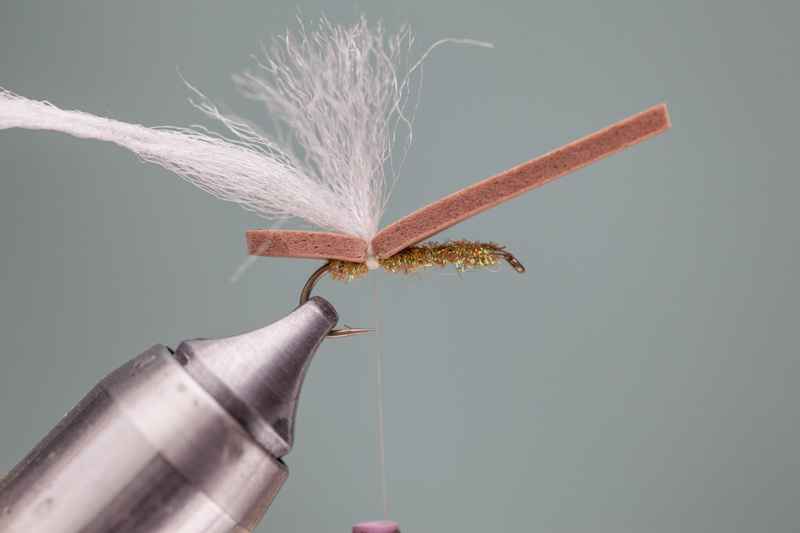
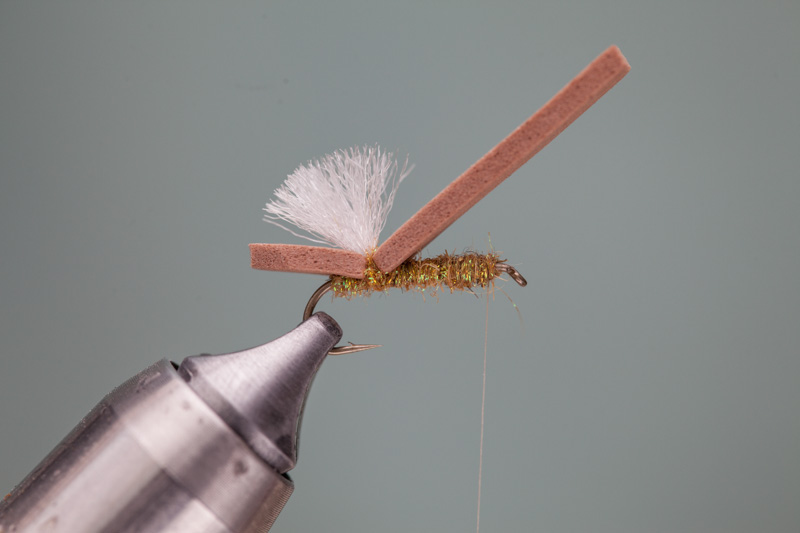
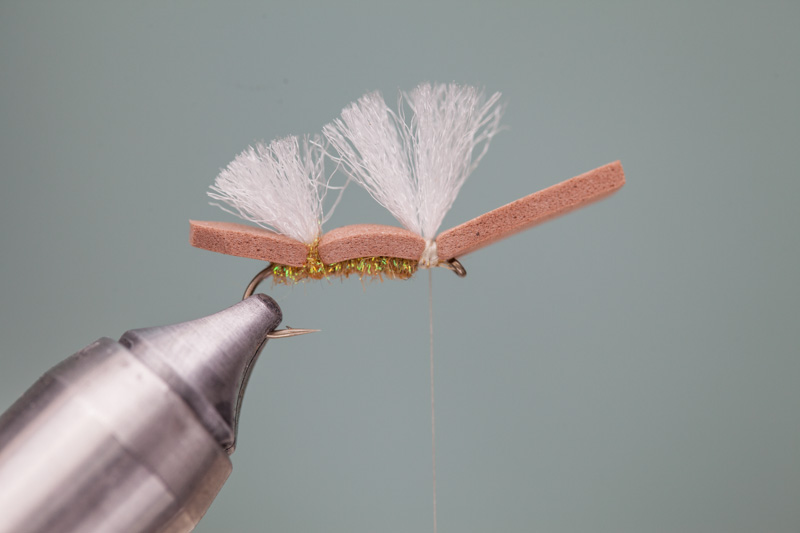
Step 5: Attach a strand of poly yarn with 3-4 firm wraps of thread. Advance the thread in front of the poly wing and build a thread dam with 10-12 wraps of thread. The wing should be slightly slanted back and very secure.
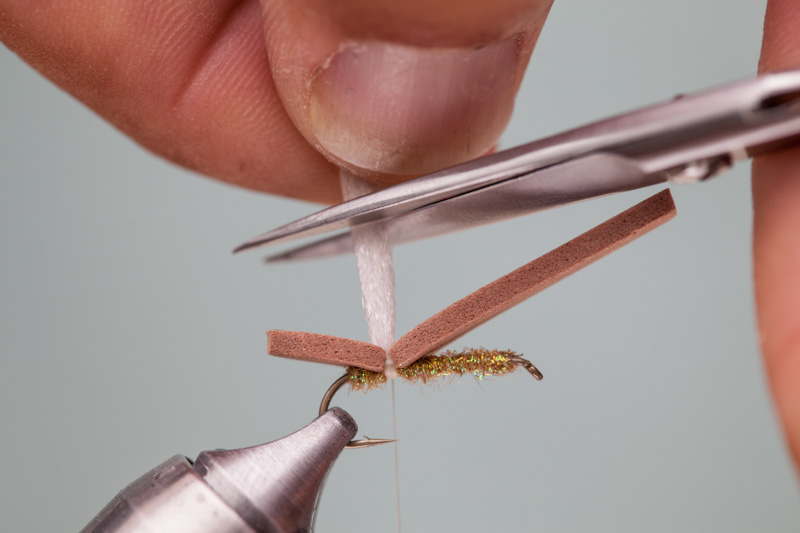
Step 6: Gather the strand of poly together and trim at a slight angle as shown. Length of wing should extend to end of tapered foam body.
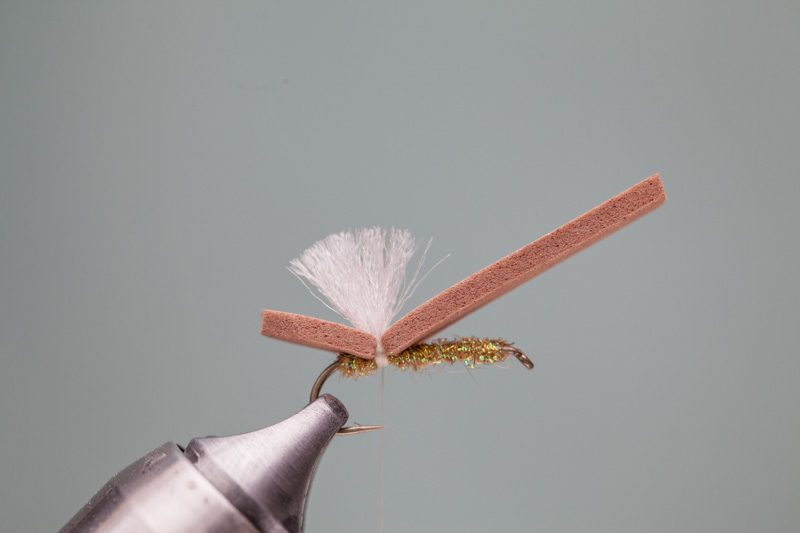
Step 7: Trimmed rear wing.
Step 8: Apply a thin amount of dubbing, enough to cover up the thread wraps that secure the poly wing and enough dubbing to be able to advance thread to two eyes length behind hook-eye.
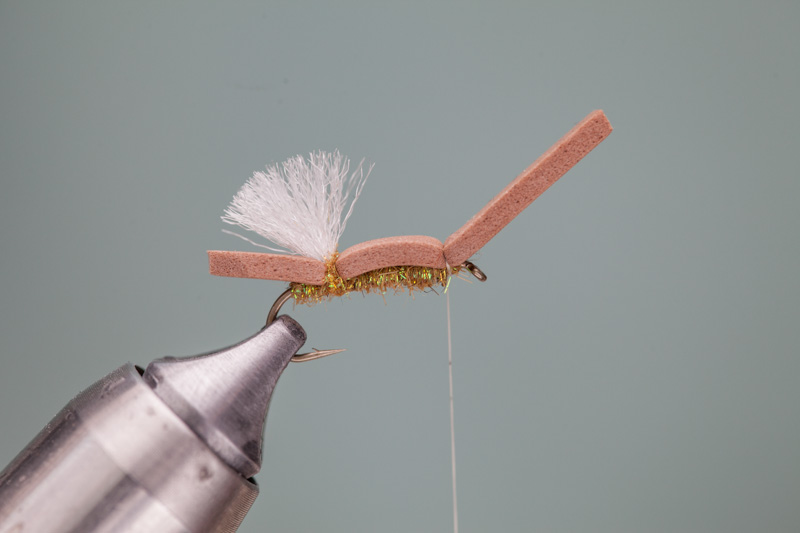
Step 9: Bind down foam body with 3-4 firm wraps.
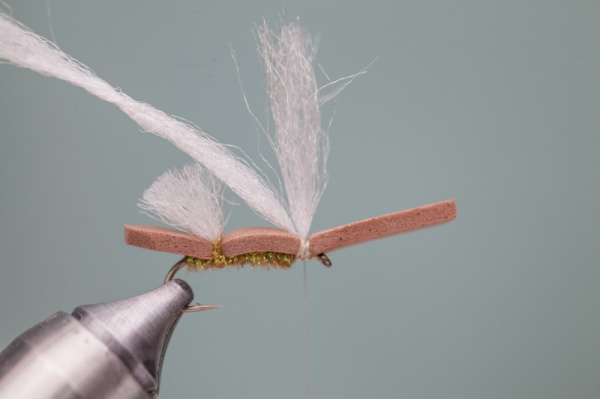
Step 10: Attach the front poly wing just like the rear wing. 3-4 wraps to bind down the poly wing, then 10-12 wraps in front of poly wing to secure.
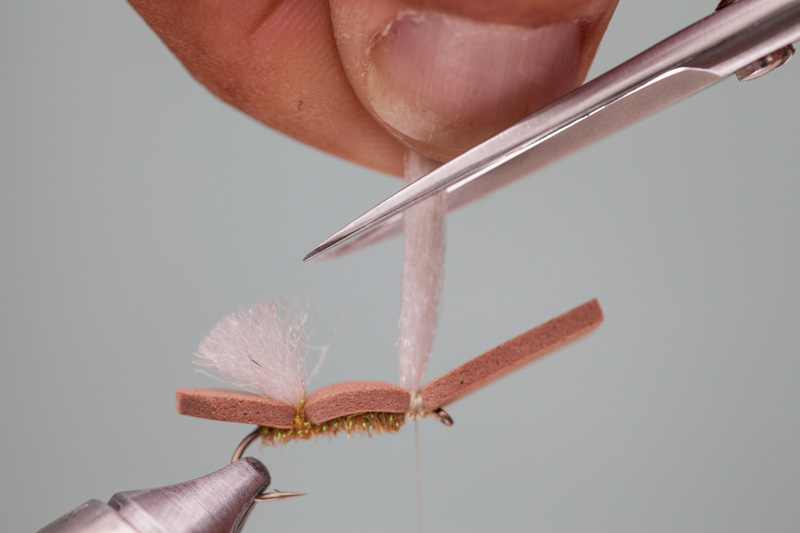
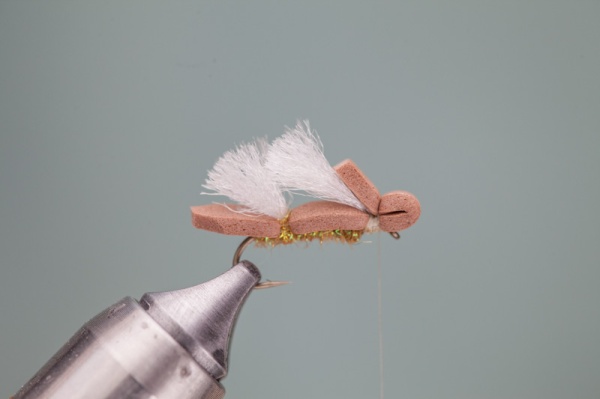
Step 11: Trim front wing. Length of wing should be about the length of your hook and trim at a slight taper as shown.
Step 12: Trimmed front wing.
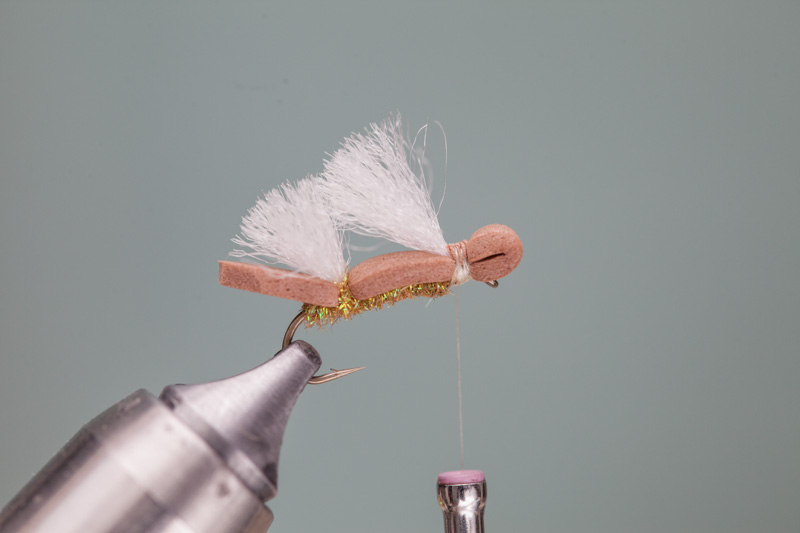
Step 13: Create the bullet-head by folding back the piece of foam and bind down with 5-6 wraps of thread. Try to keep the thread wraps 2 eye lengths behind the hook eye.
Step 14: Trim the butts of the foam flush to the poly wing and apply a few more wraps of thread back towards the wing to bind down any remaining foam.
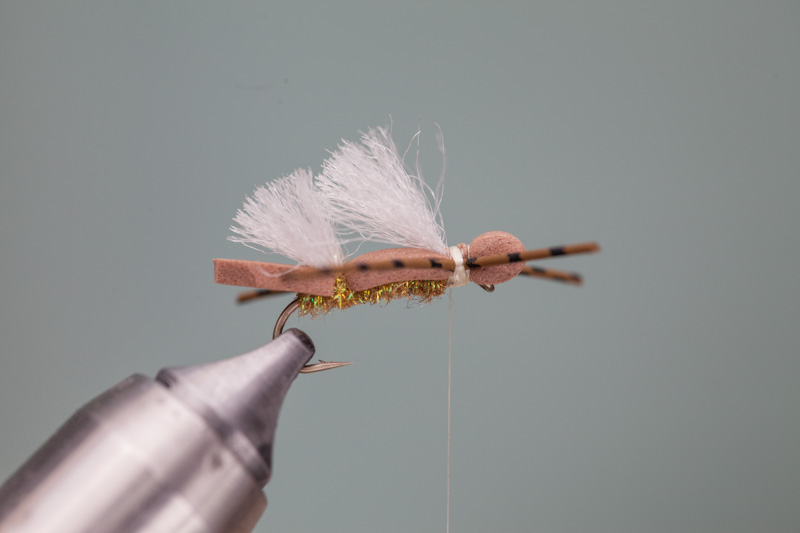
Step 15: Attach legs on both sides of the fly and bind legs down with 10-12 firm wraps of thread.
Step 16: Apply a thin amount of dubbing, enough to cover up any remaining thread wraps. Advance the thread to hook eye and whip finish. Trim legs madame-x style…short in front, and longer towards the rear of the fly. I usually trim the rear legs even with the end of the foam body.

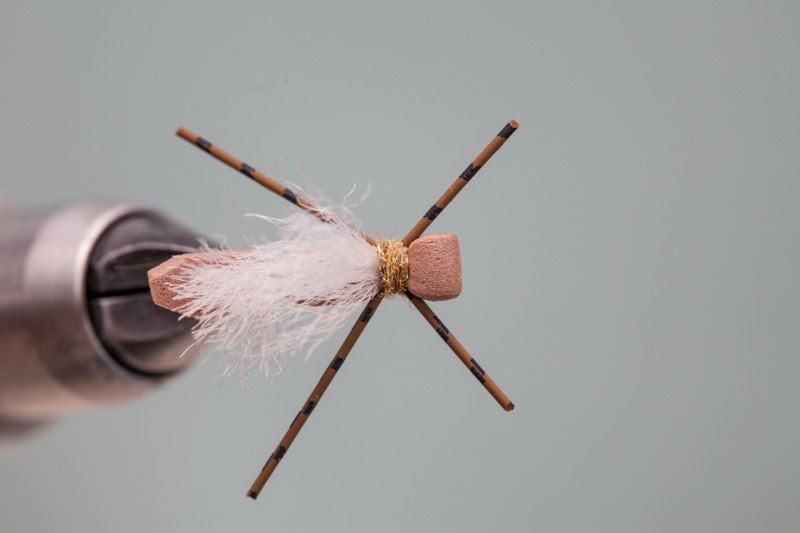
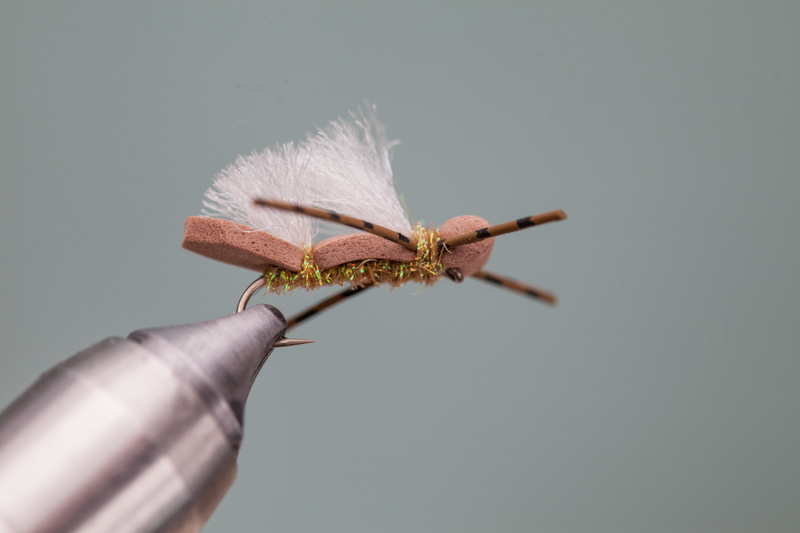
Looks good, catches fish, and is easy to tie, what more could a person want. I like it!
Very nice , i like the bullet head. Glad to see a new post here.
Looks like a great fly, and thanks for the detailed description and pics. Will give this a try next weekend.